
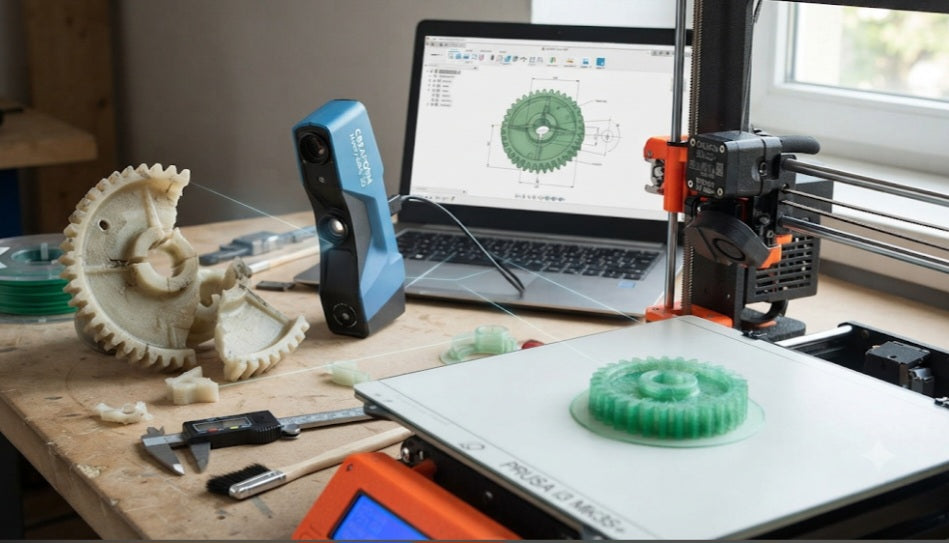
Every household, workshop, and industrial assembly eventually falls victim to the quiet tragedy of a snapped piece: a specialized plastic clip on an appliance, a vintage gear in a cherished tool, or a custom mounting bracket that hasn't been manufactured in decades. In the past, finding yourself in this position meant one of two things: embarking on an exhausting, often fruitless search for an obsolete replacement part, or discarding the entire machine entirely.
Today, the convergence of desktop 3D printing and accessible reverse engineering has completely rewritten that narrative. Replicating a broken component is no longer an industrial luxury reserved for high-end aerospace or automotive laboratories; it is a practical reality sitting right on your workbench. But simply measuring a shattered fragment with a pair of digital calipers and hoping for the best rarely yields a functional fit. Successfully cloning a broken part requires understanding how to bridge the gap between physical damage and digital restoration.
The End-to-End Workflow of Replicating Broken Components
Successfully copying a failed part involves a methodical process of data capture, digital repair, and strategic material selection:
Capturing the Geometry via Scanning or Manual Measurement:
Depending on the complexity of the part, you can capture its dimensions using a high-precision 3D scanner, photogrammetry, or traditional manual measurements with calipers. For complex organic shapes or intricate mating surfaces, scanning sprays are often required to eliminate shiny or dark surface reflections that confuse optical sensors.
Reconstructing the Missing Puzzle Pieces in CAD:
A scan or measurement of a broken part only gives you a fractured digital twin. The real engineering work happens inside your CAD software, where you must digitally heal the cracks, reconstruct missing teeth, bridge gaps, and ensure that mounting holes return to their original, symmetrical tolerances.
Accounting for Original Material Failure:
If a part broke under normal operating stress, simply reprinting an exact duplicate out of standard PLA might lead to the exact same failure. Use the replication process as an opportunity to upgrade—switching to tougher polymers like carbon-fiber reinforced PETG, impact-resistant ABS, or engineering-grade nylons that offer superior tensile strength and fatigue resistance.
Iterative Prototyping and Test Fitting:
Rare is the copied part that fits perfectly on the very first print. Plan for a quick iterative loop: print a draft copy using a fast, low-res profile to check bolt alignments and snap-fit tolerances, make minor tweaks to your CAD model, and then execute the final production run.
Bridging the Physical and Digital Worlds
Ultimately, copying a broken part with a 3D printer transforms you from a passive consumer into an active restorer. By mastering the art of digital measurement and CAD reconstruction, you bypass supply chain bottlenecks and obsolescence entirely, ensuring that broken mechanisms can always be repaired, reinforced, and brought back to life.


