
Reviving the Obsolete: How to Recreate Discontinued Plastic Parts Using Reverse Engineering and 3D Printing
Every DIY enthusiast, vintage restorer, and mechanical hobbyist eventually hits the dreaded brick wall of obsolescence: a tiny, mission-critical plastic clip, gear, or housing snaps on an appliance, vehicle, or tool that hasn't been manufactured in decades. When the original equipment manufacturer stops producing replacement spares and secondary markets run completely dry, you are left with a machine that is effectively bricked over a single piece of molded polymer.
In the past, replacing an obsolete component meant scouring junkyards, commissioning expensive custom injection molds, or discarding a perfectly good machine. Today, the convergence of desktop 3D scanning, parametric CAD software, and accessible additive manufacturing has shifted the power back to the creator. Replicating a discontinued plastic part is no longer an industrial mystery; it is an entirely achievable workshop workflow. But bridging the gap between a worn-out physical relic and a pristine digital replacement requires a structured, methodical approach.
The Step-by-Step Blueprint for Recreating Rare Plastic Components
Successfully manufacturing a part that is no longer commercially available demands a careful balance of physical measurement, digital modeling, and material science:
Gathering Reference Data and Exact Measurements:
Before opening any CAD software, you need to capture the exact dimensions of your discontinued part. Use digital calipers for flat edges, pin gauges for hole diameters, and optical comparators or handheld 3D scanners for complex organic contours. If the original plastic has faded or warped over time, you may need to measure symmetrical counterparts on the machine to infer original engineering tolerances.
Reconstructing and Upgrading the Geometry in CAD:
Rebuilding the part digitally gives you an incredible opportunity to improve upon the original design. If the part failed because of a thin wall or a sharp internal corner that caused a stress concentration, you can redesign those weak points in your CAD software by adding generous fillets, reinforcing ribs, or extra wall thickness.
Selecting the Right Polymer for the Job:
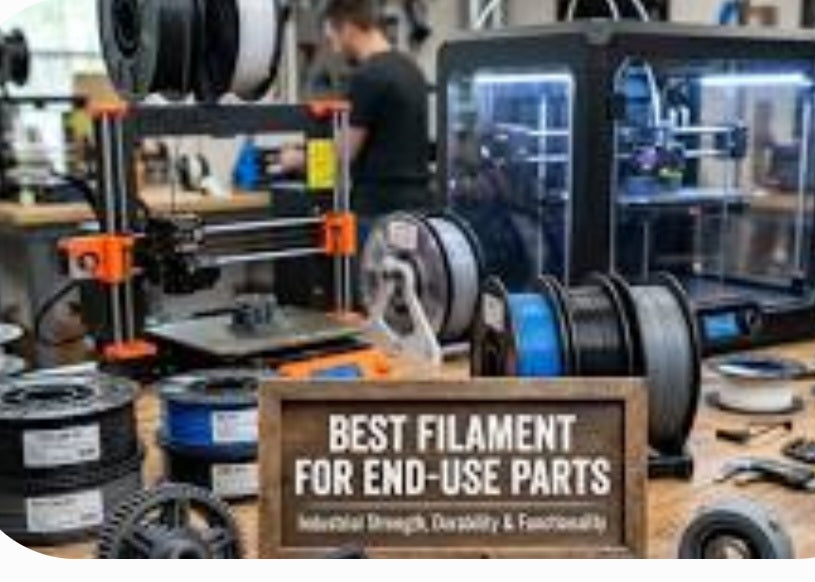
Original manufacturers often used specific engineering plastics chosen for cost rather than durability. Match your replacement material to the operating environment: use tough, impact-resistant ABS or ASA for parts exposed to sunlight and outdoor weather, engineering-grade Nylon for high-friction gears, or flexible TPU for snap-fit enclosures and seals.
Test Fitting and Iterative Refinement:
Rare is the complex part that fits perfectly on the first try. Always print a quick, low-resolution prototype using inexpensive filament to verify bolt alignments, clearance gaps, and snap-fit tensions before committing to a high-strength final production run.
Bridging Yesterday’s Hardware with Tomorrow’s Manufacturing
Mastering the replication of discontinued plastic parts transforms you from a victim of planned obsolescence into a capable restorer. By combining smart digital measurement with modern 3D printing, you can keep vintage machinery running indefinitely, bypassing supply chain limitations entirely and proving that what is broken can always be built anew.


