
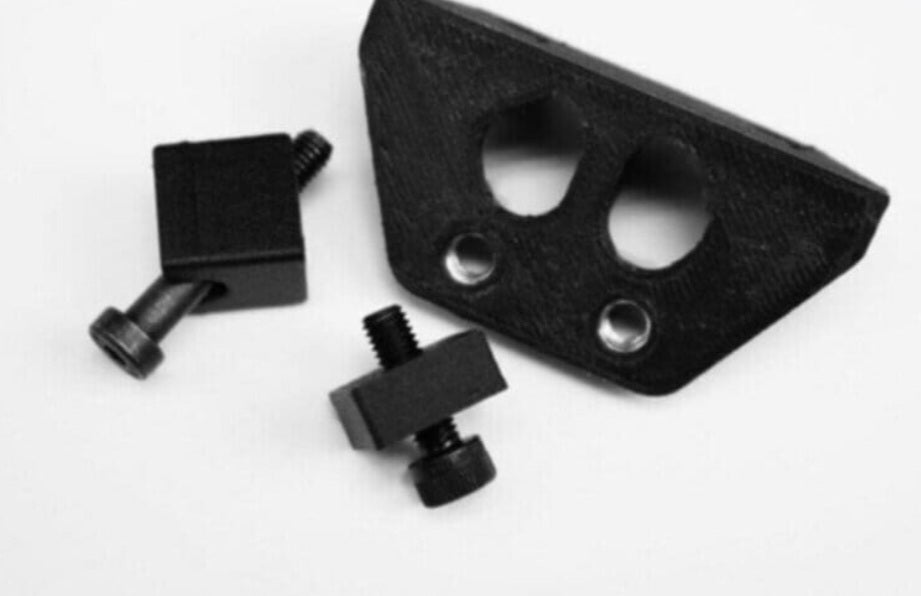
Engineering Captive Nut Pockets in 3D Printed Assemblies: Tolerances, Layer Interruption, and Torque Resistance
Moving beyond basic plastic threads requires anchoring standard steel hex nuts securely inside functional 3D printed parts during the printing process itself. Unlike injection molding where metal inserts are ultrasonically welded or dropped in post-print, additive manufacturing allows you to pause the print mid-execution, trap a metal nut inside a completely enclosed pocket, and continue printing right over the top. However, this demands precise geometrical engineering; if the pocket is too loose, the nut will spin freely when tightening a bolt, and if it is too tight, the hot nozzle will crash or the plastic will split. For workshop professionals and mechanical designers, mastering captive nut design is essential for creating high-strength, reusable bolted joints that can handle heavy mechanical loads without stripping out.
The Mechanics of Captive Nut Pockets in Additive Manufacturing
Flat-to-Flat vs. Corner-to-Corner Tolerances:
Hex nuts have different dimensions across their parallel flats versus their sharp corners; failing to design the pocket with proper radial clearance will cause the rotating corners to bind or crack the surrounding walls during bolt torquing.
The Pause-at-Height Interruption:
Successfully embedding a nut requires programming a precise G-code pause at the exact layer where the top of the pocket cavity is reached, allowing the operator to drop the fastener flush before resuming extrusion.
Bridging and Overhanging Layers:
Printing a ceiling directly over an open nut pocket requires optimizing your slicer's bridging settings or designing a sacrificial single-layer bridge to prevent sagging filament from fouling the threads of the trapped fastener.
Shop Floor Strategies for Robust Captive Fastening
Applying Radial and Vertical Clearances:
Add an extra 0.2 mm to 0.3 mm of lateral clearance around the hex profile and 0.1 mm of vertical headroom so the nut drops in effortlessly without rattling or shifting under vibration.
Reinforcing Surrounding Wall Thickness:
Program at least four to five perimeter walls and dense structural infill around the pocket perimeter to handle the high torsional shear forces exerted when tightening steel machine screws.
Utilizing Snap-Fit Retention Clips:
Design micro-retention tabs or a tight slip-fit threshold at the pocket entrance if you are inserting nuts manually from the side rather than dropping them in vertically mid-print.
Mastering captive nut engineering elevates your workshop's structural capabilities, combining the lightweight versatility of polymers with the high clamping force of steel hardware. By controlling pocket tolerances and mastering print-pause workflows, your assemblies will deliver professional-grade mechanical reliability.
To prevent localized stress cracking under extreme torsional cycles, consider applying a micro-droplet of thread-locking adhesive or using nylon-patch machine screws when fastening into your embedded nuts. Because repeated vibration can gradually loosen steel fasteners inside thermoplastic pockets over extended operational runtimes, introducing a chemical thread locker ensures the bolt remains rigidly torqued without transferring destructive harmonic resonance back into the surrounding polymer matrix.
Ultimately, integrating these engineering safeguards transforms standard plastic fasteners into resilient, vibration-resistant mechanical connections capable of withstanding heavy industrial duty cycles.


