
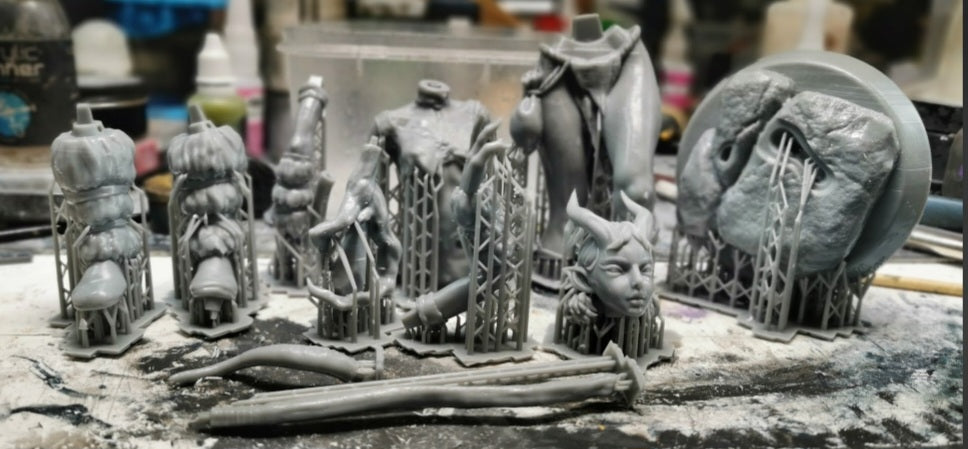
Getting a pristine print off your resin build plate is only half the battle. If you want your paint to adhere smoothly without chipping, peeling, or hiding fine details under a glossy sheen, your post-processing routine needs to be dialed in.
In this workshop trial, we test out the essential steps to prep resin miniatures for a flawless painting surface.
Step 1: The Ultimate Post-Cure Clean
Even after a standard session in your wash-and-cure station, resin prints can retain a microscopic layer of uncured, tacky residue.
The Technique:
Submerge your miniatures in fresh isopropyl alcohol (IPA) of at least 90% concentration.
The Tool:
Use a soft-bristled toothbrush to gently clear out recessed details and undercuts where residual resin loves to pool.
Pro Tip:
Never soak resin prints in IPA for extended periods (keep it under 5 minutes), as it can make the material brittle.
Step 2: Tackling Support Marks Like a Pro
Support removal is where most surface damage happens.
Thermal Pre-Treatment:
Instead of snapping cold supports off—which can tear chunks out of flat surfaces—dip your cured miniature in warm-to-hot tap water for 30 to 60 seconds.
The Result:
The resin softens just enough to let you snip supports flush using precision flush cutters without gouging the model's skin or armor plates.
Sanding and Smoothing:
Clean up remaining nubs using fine-grit sanding sponges or hobby files.
Step 3: The Importance of a True Matte Primer
Resin has a naturally semi-gloss or smooth finish that acrylic paint struggles to bite into.
Why Prime?
A dedicated hobby primer creates an etched, matte micro-surface for your base coats to grip.
Application:
Use light, sweeping passes from about 15 to 20 cm away. Avoid heavy coats that pool and obscure the intricate face details or sharp edges. Neutral grey or matte black primers work best depending on whether you are going for bright or dark final color schemes.
Workshop Verdict
Taking an extra ten minutes to properly clean, thermal-snip, and prime your resin miniatures completely changes how the paint flows. You’ll avoid frustrating paint pooling and ensure your hard work shines through every single brushstroke.
Pro Tips for Long-Term Finish Durability
Taking your workshop prep a step further involves looking at the environmental factors that affect your final finish long after the paint dries.
Humidity and Curing:
Always ensure your miniatures are 100% dry before priming. Trapped microscopic moisture or residual IPA under a primer layer can cause micro-blistering or "frosting" as the paint cures.
The UV Shield Factor: If you are displaying your painted models in a well-lit room or near a window, consider finishing them with a UV-blocking clear matte varnish. UV exposure can slowly yellow clear or light-colored resins over time and fade vibrant acrylic pigments.
Smart Storage:
Store unpainted, prepped miniatures in airtight, dark storage bins lined with anti-static foam to prevent dust accumulation and minor surface abrasions before your painting session begins.
By factoring in these workshop variables, your resin creations will stay pristine and gallery-ready for years to come.


