
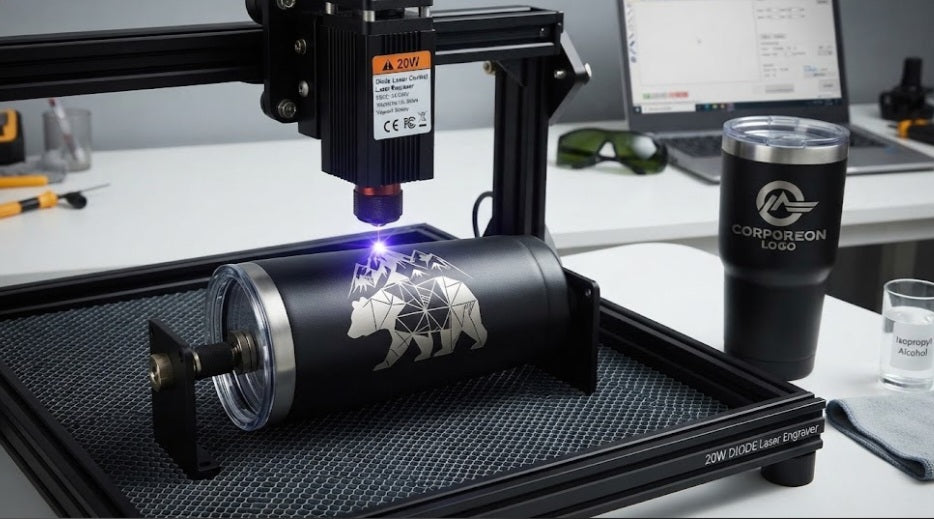
When scaling an e-commerce catalog for high-end corporate clients or bespoke retail buyers, stepping into metal customization is a game-changer. For local South African makers operating diode laser systems, engraving raw, shiny metals like aluminum or stainless steel directly can be a frustrating roadblock due to beam reflection. However, there is a massive shortcut that yields breathtaking, premium results: powder-coated metal.
Whether you are branding insulated drink tumblers, heavy-duty business card holders, matte-finished flasks, or custom pet tags, powder coating provides an ideal canvas. When your laser interacts with the pigmented polymer coating, it cleanly vaporizes the top color layer without damaging the raw metal underneath, revealing a striking metallic silver or bright contrast beneath. Let's break down the optimal test setup, parameter guidelines, and workflow secrets to make powder-coated metal your shop's most profitable offering.
The Powder-Coat Advantage:
Unlike raw aluminum which reflects blue light, the cured polymer coating absorbs laser energy instantly, making it fully compatible with diode laser modules.
High-Contrast Results:
The contrast between a deep matte exterior (such as black, navy, or forest green) and the exposed bright metal underneath creates a luxury aesthetic.
Zero Chemical Sprays Needed:
Unlike ceramic tiles, you do not need marking sprays or paint layers here; the factory coating itself acts as the sacrificial medium.
Durability and Presentation:
Powder-coated finishes resist everyday handling, but keeping your cleanup pristine ensures your Shopify customers receive a flawless product.
Step-by-Step Material and Parameter Testing Protocol
Achieving a crisp, clean metallic burn on powder-coated items requires careful calibration to avoid leaving a hazy soot residue or under-burning the polymer layer.
Surface Inspection and Cleaning: Wipe down your powder-coated blank with a clean microfiber cloth and a touch of rubbing alcohol to remove any workshop oils, fingerprints, or dust particles that could deflect the laser beam.
Dialing in Software Parameters: In your laser control software, set up a test grid to find the exact sweet spot for your specific laser output. For a typical 20W diode laser, a reliable baseline is a speed of 3,000 mm/min to 4,000 mm/min at 30% to 50% power. Running too slow or too high on power can overheat the metal substrate and scorch the edges of your design.
Managing Air Assist and Exhaust: Keep your air assist pressure moderate. You want enough airflow to clear smoke and debris instantly so it doesn't resettle into the freshly exposed metal channels, but not so much that it cools the reaction zone prematurely.
Post-Engrave Cleanup:
Once the job completes, wipe the engraved graphic area gently with a damp microfiber cloth or isopropyl alcohol. This lifts away any fine carbon dust trapped in the microscopic texture, leaving a brilliant, mirror-like or satin metallic finish.
Avoiding Over-Scorching:
If the exposed metal looks dull, grey, or dirty, your speed is likely too slow or your power is too high, causing soot to bake onto the metal layer.
Testing Different Colors:
Darker powder coats (matte black, charcoal grey, deep blue) offer the highest visual contrast, whereas lighter pastel coats may require slight adjustments to line intervals.
Engraving powder-coated metal items allows you to command premium prices on your e-commerce platform while keeping material waste extremely low. By dialing in your clean-burning diode parameters and maintaining rigorous quality control, you can effortlessly turn bulk corporate items into high-end retail masterpieces.
Mastering coated substrates unlocks a whole new tier of professional product styling for your maker business. By fine-tuning your speed-to-power ratios and maintaining clean post-processing steps, you ensure that every metal item leaving your workshop meets the highest retail standards.


