
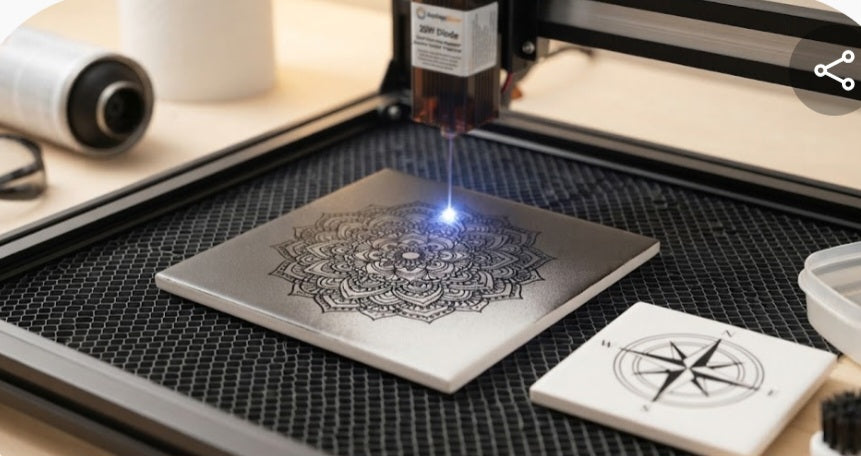
Transforming ordinary, inexpensive hardware store ceramic tiles into stunning, high-contrast custom coasters, custom photo plaques, or kitchen backsplash murals is one of the most cost-effective ways to scale your maker portfolio. However, because a standard blue diode laser beam passes right through glossy, reflective white glaze without leaving a mark, you need a clever trick to make the laser interact with the surface.
Enter the marking agent method—using water-soluble paint, high-temperature black spray paint, or specialized marking compounds (like CerMark or locally sourced alternatives) to create a temporary thermal reaction layer. When the laser fires across the painted tile, the intense heat barks the pigment permanently into the microscopic pores of the glaze, leaving behind a razor-sharp, permanent black engraving once the excess paint is washed away. Let's break down the step-by-step process, optimal parameters, and finishing techniques to get showroom-quality results.
The Reflection Challenge:
Uncoated glossy white ceramic tiles reflect blue laser light, requiring a temporary dark coating to absorb thermal energy and transfer the image.
Choosing Your Coating:
Standard matte black spray paint (easily found at local hardware chains for around R80 to R120 per can) or water-based tempera paints offer affordable, highly effective marking layers.
Speed and Power Calibration:
High-power diode lasers require fast scanning speeds to vaporize the paint and bond the pigment without cracking the underlying ceramic body.
Cleanup and Curing:
Proper washing after engraving removes soot and loose paint residue, revealing a crisp, permanent black or dark grey mark that resists fading and scratching.
Step-by-Step Material and Finish Testing Protocol
Achieving professional results on ceramic tiles requires strict attention to preparation, laser settings, and post-processing cleanup. Follow this battle-tested workflow:
Surface Preparation and Coating:
Thoroughly clean a standard ceramic tile with rubbing alcohol to remove oils or manufacturing dust. In a well-ventilated area (or outdoors), apply an even, thin coat of matte black spray paint across the surface. Let it dry completely for 15 to 20 minutes until the finish is entirely flat and non-reflective.
Dialing in Software Parameters:
Secure the tile flat on your laser bed. In LightBurn, set up a test matrix. For a typical 20W diode laser, a strong baseline for painted tiles is a speed of 1,500 mm/min to 2,500 mm/min at 80% to 100% power.
Running the Engrave Job:
Execute your design. The laser will burn away the black paint where the graphic is placed, instantly fusing the pigment into the hot ceramic glaze underneath.
Washing and Finishing:
Once the job finishes, take the tile to your sink. Use warm water, a nylon scrub brush, or a bit of scouring pad to wash away the remaining unburned spray paint. The engraved portions will remain permanently fused in jet-black contrast against the white tile surface.
Preventing Thermal Shock:
Ensure your laser settings aren't set to excessively slow speeds over prolonged periods, which can overheat the ceramic body and cause hairline cracks.
Choosing the Right Tile:
Plain, matte or glossy white glazed tiles (such as standard 100mm x 100mm or 150mm x 150mm wall tiles from local hardware suppliers) provide the highest visual contrast for black graphic engravings.
Engraving ceramic tiles unlocks incredible profit margins for your e-commerce business because raw blanks cost very little while finished, custom-designed photo tiles and coasters command high retail value. By mastering the spray-paint marking method and keeping your production steps streamlined, you can easily produce striking, durable home decor items that stand up to daily household use.
Working with specialized surface treatments proves that material limitations can always be overcome with clever workshop workflows. By dialing in your diode parameters and perfecting your post-wash cleanups, you expand your product catalog into new, exciting markets.


