
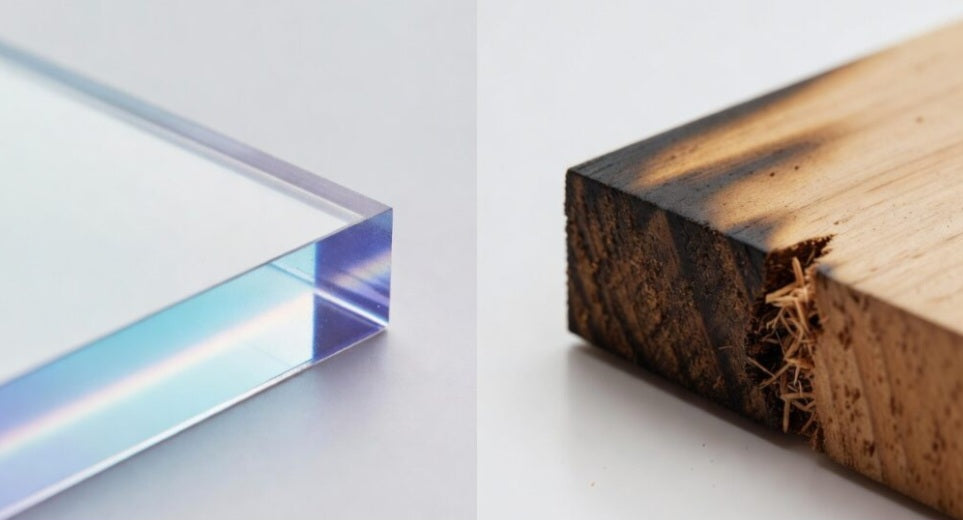
When you are running an e-commerce maker business on Shopify and building out a product line of custom acrylic signage, choosing the right tool for the job can make or break your profit margins. Both tools handle cast and extruded acrylic sheets beautifully, but they use completely different physical mechanisms to achieve their cuts. A high-powered diode or CO2 laser uses a concentrated beam of light to vaporize the material with a polished, flame-polished edge. In contrast, a CNC router uses a rotating carbide end mill to physically mill through the plastic, leaving a matte, tool-path textured edge that requires secondary finishing.
To help you decide which workflow suits your studio best, we put both machines to the test using the exact same vector file on 3mm clear cast acrylic. Let's break down the side-by-side performance, edge finishes, dimensional accuracy, and production efficiency to see which method wins.
The Laser Mechanism:
Melts and vaporizes acrylic instantly, creating a glassy, crystal-clear edge that needs zero post-processing or sanding.
The CNC Mechanism:
Physically shears the material away with a high-RPM spiral bit, producing slightly frosted edges and requiring tabs or clamping to secure small interior cutouts.
Kerf and Tolerances:
Lasers feature a very narrow beam width (small kerf) allowing for intricate micro-details, whereas a CNC router's bit diameter limits how tight your internal sharp corners can be.
Fumes and Ventilation:
Both processes require robust ventilation, but lasers produce more chemical odor and require frequent cleaning of soot from protective masking paper.
Side-by-Side Testing Protocol
To run a fair comparison, we took a 200mm circular business logo featuring sharp lettering and fine outer details and processed it through both workflows.
Vector Preparation:
We set up the file with a 0.1mm offset for the CNC router to accommodate bit diameter, while keeping the vector path exact for the laser cutter's narrower kerf.
Laser Processing:
Running on a 20W diode laser using a multi-pass vector cut strategy (or a CO2 laser equivalent), the machine sliced cleanly through the 3mm cast acrylic. The result was an instant, glossy edge that looked professionally finished straight off the honeycomb bed.
CNC Routing Processing:
We secured the acrylic sheet to our spoil board using double-sided woodworking tape, dropped a 2mm single-fluted down-cut carbide bit, and ran the path at 18,000 RPM. The cut was structurally sound, but the edges retained a light, frosted tool-mark texture.
Post-Processing Comparison:
The laser sign was ready to pack immediately after peeling the protective paper. The CNC sign required a quick pass with a flame torch or a scraper to clear minor burrs and achieve a clear finish.
Detail Retention:
The laser easily conquered micro-serif fonts and delicate interior points. The CNC router rounded off sharp internal corners due to the physical radius of the 2mm cutting bit.
Production Speed:
For small, intricate badges and detailed lettering, the laser won on speed. For thick acrylic blocks or deeper 3D pockets, the CNC router would take the crown.
If your acrylic sign catalog focuses on intricate lettering, complex layered designs, and fast turnaround times without manual sanding, the laser is your ultimate production tool. However, if you plan to mix your acrylic signs with wood bases, heavy backing boards, or require 3D bevels, the CNC router is an invaluable workshop companion.
Understanding the distinct advantages of both manufacturing methods allows you to route orders efficiently based on design complexity and finish requirements. By mastering both workflows, you ensure your shop delivers top-tier quality every single time.


