
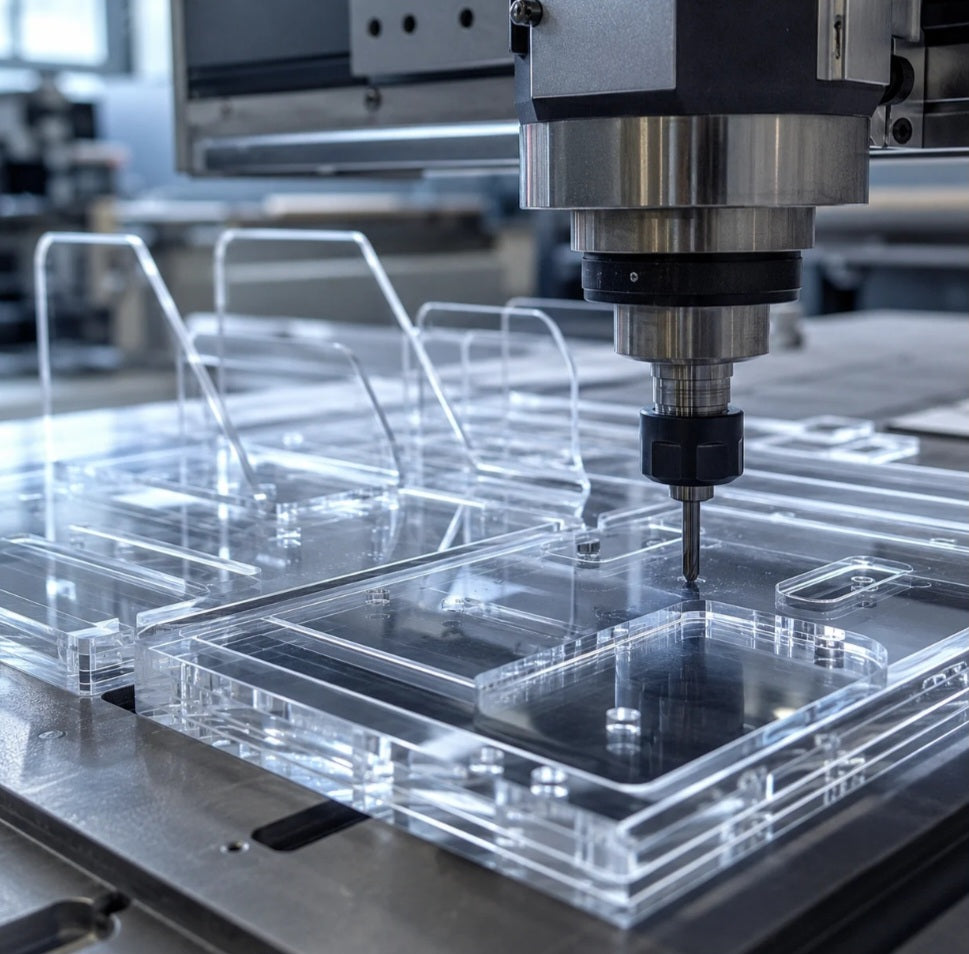
When expanding your Shopify maker store into physical retail displays, point-of-sale (POS) holders, and product showcases, transitioning from flat laser-cut signs to interlocking 3D structures is a major milestone. While lasers can cut thin acrylic sheets, designing robust multi-part display stands—such as business card holders, phone display wedges, and tiered jewelry risers—requires the mechanical strength and slot-tolerance control of a CNC router.
Acrylic is a rigid, unforgiving material. Unlike flexible plywood or forgiving MDF, cast acrylic will snap under stress if your digital joints are engineered too tight, or wobble loosely if your tolerances leave too much wiggle room. Let's break down how to design flawless interlocking slots, choose the right CNC bits, and engineer professional displays that snap together seamlessly without glue.
The Tolerance Equation:
Cast acrylic sheets have slight thickness variations (a nominal 3mm sheet can actually measure anywhere from 2.8mm to 3.1mm), meaning your digital slot dimensions must match your physical material.
The Dog-Bone & T-Bone Secret:
Because a CNC router uses a round rotating bit, sharp interior corners are physically impossible; incorporating relief cuts ensures your interlocking tabs sit flush.
Choosing the Right Bit:
Single-flute carbide up-cut or down-cut spiral bits clear chips efficiently, preventing the acrylic from melting back together behind the cutting edge.
Structural Stability:
Designing wide baseplates and interlocking cross-braces prevents heavy retail items from tipping over your display stands.
Step-by-Step Design and Routing Protocol
Designing and cutting structural acrylic displays on a desktop CNC router requires precise CAD/CAM planning and careful machine execution.
Measuring Actual Material Thickness:
Before drawing a single line in your vector software, use digital calipers to measure the exact thickness of your acrylic sheet. If your sheet measures 2.85mm, your interlocking slot width must match that exact dimension—not the nominal 3mm value.
CAD Design and Slot Relief:
In your design software (such as VCarve, Fusion 360, or Illustrator), draw your slot joints. Add a small "dog-bone" or circular relief at the inner corners of any slot so that square tabs can slide all the way to the back without hitting a rounded radius corner.
Optimizing Feed and Speeds:
Secure your acrylic sheet tightly to your spoil board using clamps or specialized vacuum pods. Set your CNC router to a conservative feed rate with a spindle speed around 16,000 RPM to prevent friction heat from melting the plastic.
Assembly and Dry Fitting:
Clean up any microscopic burrs along the cut edges with a scraper or light sander. Test-fit your interlocking pieces together carefully; a snug friction fit means your display will hold its shape permanently without requiring messy glues.
Avoiding Melted Edges:
If your feed rate is too slow, the spinning bit stays in one place too long, causing the acrylic to melt and weld itself back together in the kerf channel.
Using Down-Cut Bits:
A down-cut spiral bit pushes chips downward against the table, holding your acrylic flat against the spoil board and leaving a clean top edge.
Designing and fabricating your own acrylic display stands gives your e-commerce brand a massive competitive edge. Not only do you save money by making your own studio displays, but you can also package flat-pack, interlocking display stands as high-margin products for other retail vendors on your Shopify store.
Mastering 3D interlocking design transforms your CNC router from a simple sign-cutter into a versatile manufacturing powerhouse. By dialing in your digital tolerances and understanding acrylic's rigid physical limits, you open up an entirely new catalog of functional, professional retail products.
As your maker business evolves from flat-surface marking into structural 3D assembly, the secret to long-term profitability lies in design efficiency and inventory versatility. By utilizing leftover offcuts of acrylic and wood from your sign-making projects to batch-cut small interlocking display stands, you drastically reduce raw material waste while simultaneously creating high-margin cross-sell items for your online storefront. Integrating these modular accessories transforms your product catalog from simple custom prints into complete, professional retail merchandising packages.


