
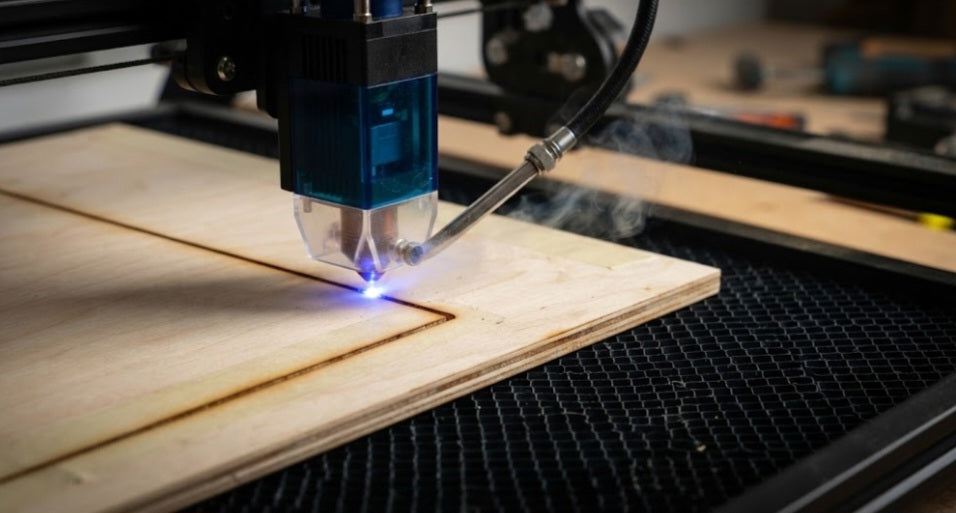
Introduction to 20W Diode Laser Cutting
Using a 20W diode laser opens up fantastic possibilities for maker projects, hobbyists, and small businesses alike. One of the most common tasks is cutting through 3 mm plywood. Because diode lasers rely on optical power and beam compression, dialing in the right settings is crucial to achieve clean edges without excessive charring or incomplete cuts.
Test Setup and Calibration
To get the most accurate, repeatable results, our testing methodology focused on controlling variables like focal distance, air assist, and pass counts.
Machine Specifications:
A standard 20W optical output diode laser module.
Material Used:
3 mm utility-grade and premium birch plywood sheets.
Air Assist:
Enabled at a steady pressure to clear debris, suppress flames, and reduce edge burning.
Focus:
Calibrated precisely to the top surface (or slightly recessed into the material for better depth penetration).
Recommended Cutting Parameters
Finding the sweet spot between speed and power ensures clean cuts while protecting the laser diode's lifespan.
Power Setting:
95% to 100% power. Diode lasers run best at high power when cutting thicker woods, though dropping to 95% can sometimes extend component life.
Speed Range:
Typically between 400 mm/min to 600 mm/min for a reliable single-pass cut, depending on the glue density of the plywood.
Passes:
1 to 2 passes. A single slow pass at around 400 mm/min usually cuts cleanly through standard 3 mm plywood, while a dual-pass approach at higher speeds (e.g., 800 mm/min) can minimize smoke residue.
Results and Observations
Edge Quality:
With proper air assist, the top and bottom cuts remain surprisingly clean, displaying only a light amber discoloration rather than heavy black soot.
Glue Seams:
Plywood contains internal glue layers that can occasionally resist the laser beam. Certain budget plywoods with thick or inconsistent glue pockets may require a quick secondary pass or a slight reduction in speed.
Flare and Residue:
Minimal flare was observed when using a honeycomb bed, which prevents underside reflection marks.
Pro-Tips for Best Results
Always use Air Assist:
It is non-negotiable for clean wood cutting, as it blows out hot gases and prevents flare-ups.
Masking Tape Trick:
Applying low-tack masking tape to the top surface of the plywood before cutting completely eliminates surface smoke stains, saving hours of post-processing sanding.
Clean the Lens:
Residue buildup on the protective glass of a 20W laser happens quickly when cutting wood. Wipe your lens frequently with isopropyl alcohol.
Mastering 3 mm plywood cuts with a 20W diode laser ultimately comes down to balancing consistent speed, maximum optical power, and proper airflow to eliminate stubborn charring. By dialing in these optimal parameters and utilizing smart prep tricks like surface masking, makers can consistently produce professional, clean-edged components ready for assembly straight off the bed.


