
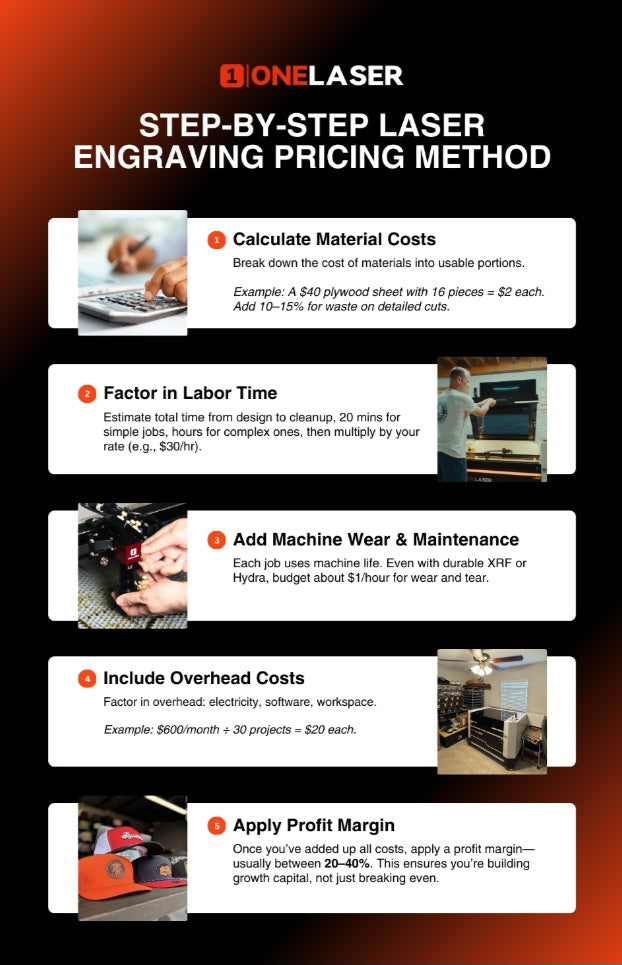
Accurately calculating laser cutting time is the difference between running a profitable workshop and accidentally paying customers to take your products. If you underestimate your time, your profit margins vanish. If you overestimate, you lose the bid to competitors.
To price laser jobs profitably, you need a repeatable method to calculate cutting time, factor in hidden delays, and turn those numbers into a rock-solid quote.
The Core Quoting Equation
Every professional laser shop relies on a fundamental pricing structure:
Total Price = (Machine Time × Shop Rate) + (Material Cost × Markup) + Setup Fee
To solve this equation, you must break down how long the machine is actively working versus how long it takes you to prepare the job.
How to Calculate Actual Machine Cutting Time
Do not try to guess cutting times manually or rely on a stopwatch for complex geometry. Instead, use these approaches:
Use CAM Simulation Software:
Import your vector file (like an SVG or DXF) into your laser software (such as LightBurn, CypCut, or RDWorks). Run the built-in preview or simulation feature. The software calculates the exact travel path and provides a precise completion time.
Account for the "Piercing" Trap:
A laser doesn't just glide continuously; it has to pierce a hole through the material every time it starts a new isolated cut line or inner vector. Thick materials or dense patterns with dozens of interior cutouts add substantial time that straight-line speed calculators miss.
Factor in Rapid Travel Movements:
Simulation tools automatically factor in how fast the laser head jumps from one vector shape to another without firing (rapid moves). Always trust your software's total estimated runtime over a simple math equation based solely on cutting length divided by speed.
Don't Forget the Non-Cutting Time (Hidden Labor)
The clock starts ticking long before the laser fires. Make sure your quote accounts for the labor hours spent away from the machine:
File Prep & Cleanup:
Fixing open vector loops, removing overlapping double lines, scaling, and nesting parts onto a sheet.
Machine Loading &
Material Handling: Sourcing the sheet, cleaning the honeycomb bed, clamping or weighting warped stock down, and clearing out finished parts.
Post-Processing:
Edging, sanding, masking removal, or cleaning resin soot off delicate engravings.
Determine Your Hourly "Shop Rate"
To turn time into money, you need to know what your machine costs per hour to operate. A healthy shop rate covers more than just electricity:
Direct Operating Costs:
Electricity, assist gases, and consumables (lenses, mirrors, nozzles).
Machine Depreciation:
The cost of the machine spread across its expected working lifespan.
Overhead & Profit:
A portion of your workshop rent, software subscriptions, labor wages, and a target profit margin.
Put It Into Practice: A Quick Quoting Example
Machine Time Simulation:
Your software estimates 15 seconds of cutting per tag (50 \text{ tags} \times 15\text{s} = 12.5\text{ minutes} total run time, or \approx 0.21\text{ hours}).
Applying Shop Rate:
If your operational shop rate is R600/hour, then 0.21\text{ hrs} \times \text{R600} = \text{R126.00} in machine time.
Adding Material & Setup:
Add the cost of the acrylic sheet plus a minor 25% material markup, plus a standard R150 file setup fee.
Final Quote:
Combine them cleanly so you cover your overhead, guarantee a profit, and present a professional estimate to your client in Rands.
To wrap it up, mastering time-based quoting ensures your workshop remains profitable while keeping your pricing competitive. New Info: Keep in mind that tracking your machine's active runtime over a few months will also help you schedule preventive maintenance intervals before wear and tear causes unexpected downtime.


