
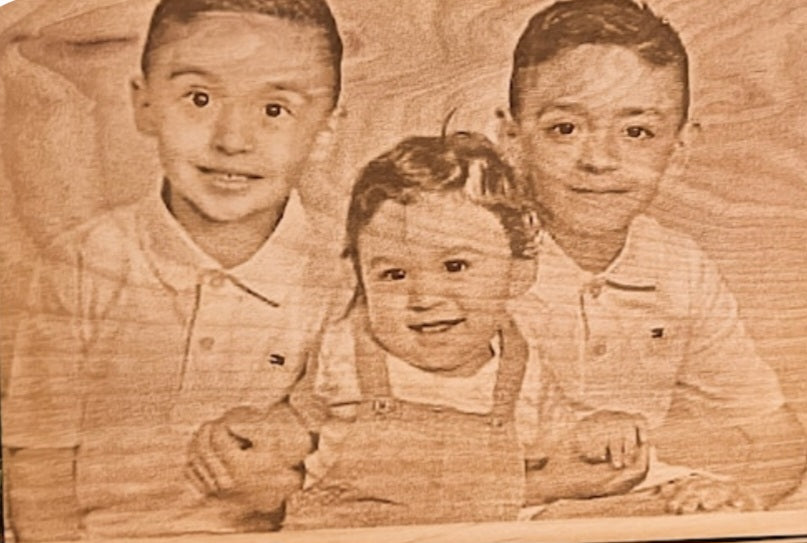
Engraving photographs onto wood is one of the most rewarding laser projects you can tackle, turning family portraits, pets, and landscapes into stunning, timeless keepsakes.
However, translating a full-color, continuous-tone photograph into a series of burnt dots on a textured wooden surface can be tricky.
This comprehensive guide covers the essential steps, software settings, and techniques needed to achieve crisp, high-contrast, professional-looking photo engravings on wood.
Preparing and Optimizing Your Image
Laser engravers cannot process color photos directly; they convert images into monochrome black-and-white data. Proper image preparation is 80% of the battle.
Convert to Grayscale:
Start by turning your color image into high-contrast black and white.
Enhance Contrast and Lighting:
Wood naturally absorbs light and can hide subtle shadow details. Boost your image's contrast significantly, brighten the highlights, and darken the shadows so the laser has distinct tonal boundaries to work with.
Remove Busy Backgrounds:
For portraits, remove distracting backgrounds. A clean, isolated subject ensures the laser focuses its energy on the face or key details rather than getting lost in wood grain.
Choosing the Right Dithering Method
Dithering is the algorithm your laser software (such as LightBurn or LaserGRBL) uses to translate grayscale pixels into dot patterns the laser can fire. Selecting the right one makes a massive difference:
Stucki / Jarvis:
Excellent for general photos and portraits. They create smooth gradients and a classic newspaper-print style look.
Newsprint / Halftone:
Best used if you want a distinct, artistic retro dot-matrix pattern.
Threshold:
Use with caution. It turns every pixel into either pure black or pure white (no shades of gray). It works well for vector graphics or high-contrast line art, but usually ruins realistic photos.
Selecting the Best Wood and Laser Settings
Not all woods engrave photographs equally well.
Best Woods:
Choose light-colored, uniform hardwoods with minimal grain contrast, such as basswood, birch plywood, maple, or alder. Heavy grain lines (like oak or pine) will compete with your photo's details and obscure the face.
Laser Settings (Baseline):
Speed:
Moderate to fast (e.g., 300–600 mm/s) so the laser doesn't linger too long in dark spots and cause deep, messy charring.
Power:
Low-to-medium (e.g., 15–30% depending on your laser wattage).
Line Interval / PPI (Pixels Per Inch):
Set your line interval tightly enough so the passes blend smoothly (e.g., 254 to 300 lines per inch for a clean resolution without overlapping too much heat).
Post-Processing and Finishing Touches
Clean the Surface: Wipe away loose soot using a soft brush or a microfiber cloth.
Protect the Wood:
Apply a clear matte polyurethane spray, a light coat of shellac, or a clear wood wax to seal the wood, protect it from humidity, and make the dark burnt details pop against the lighter background.


