
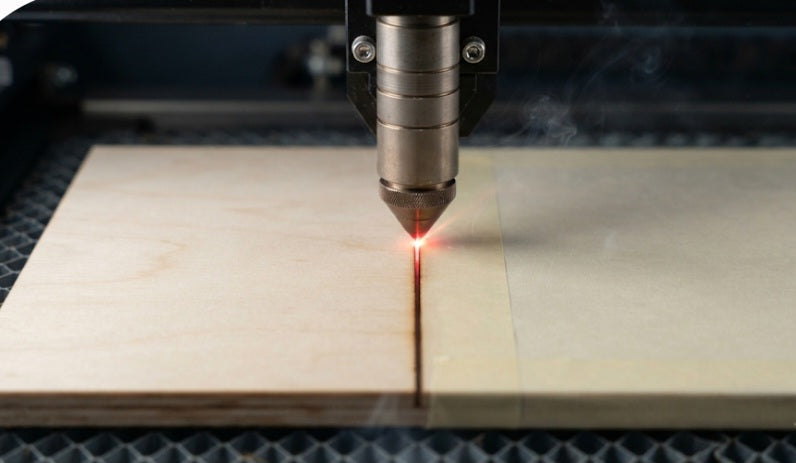
Optimize Your Air Assist Settings
Increase Air Pressure:
An active air assist blows compressed air directly at the focal point, extinguishing small flames, cooling the material, and blowing smoke and debris away before they can stain the surface.
Check for Blockages:
Ensure your air compressor or pump is running at full capacity and that the nozzle is clean and unobstructed.
Mask the Wood Surface Before Cutting
Use Transfer Tape or Painter’s Tape:
Apply low-tack masking tape or application transfer tape across the entire surface of the wood before placing it in the laser bed.
Peel After Cutting:
The laser cuts right through the tape, trapping smoke residue and soot on the paper tape rather than your actual wood. Once finished, simply peel the tape away to reveal a clean, unblemished surface.
Dial in Speed and Power
Increase Cutting Speed:
Staying in one spot too long bakes the wood fibers. Increasing your speed while keeping your power balanced reduces the duration of heat exposure.
Use Multiple Passes (If Needed):
Instead of running a single, overly slow, high-power pass that chars deep into the wood, try running two faster passes with lower power.
Avoid Over-Powering:
Too much unnecessary power generates excessive heat and combustion, leading to darker, sootier edges.
Elevate Your Material
Reduce Backside Reflection:
When a laser beam passes all the way through the wood, it hits a flat solid bed below and reflects back up, scorching the underside of your project.
Use a Honeycomb Bed or Pins:
Elevate your wood on a honeycomb grid, knife edges, or magnetic pins to allow airflow underneath and prevent laser beam bounce-back.
Choose the Right Wood
Select Low-Resin Woods:
Woods with high sap or resin content (like pine or fir) naturally produce sticky, dark burn marks. Opt for laser-friendly hardwoods and plywoods like basswood, birch, or MDF, which use minimal or low-VOC glues.
Achieving Clean, Professional Laser Cuts
Dealing with unsightly burn marks and charred edges can be frustrating, but implementing a few proactive steps can completely transform the quality of your finished projects. By combining proper surface masking and optimized air assist with balanced speed-and-power settings, you can eliminate tedious post-processing sanding and clean-up.
Taking the time to properly prepare your wood and calibrate your machine ensures every piece you create looks crisp, professional, and ready for your customers.


