
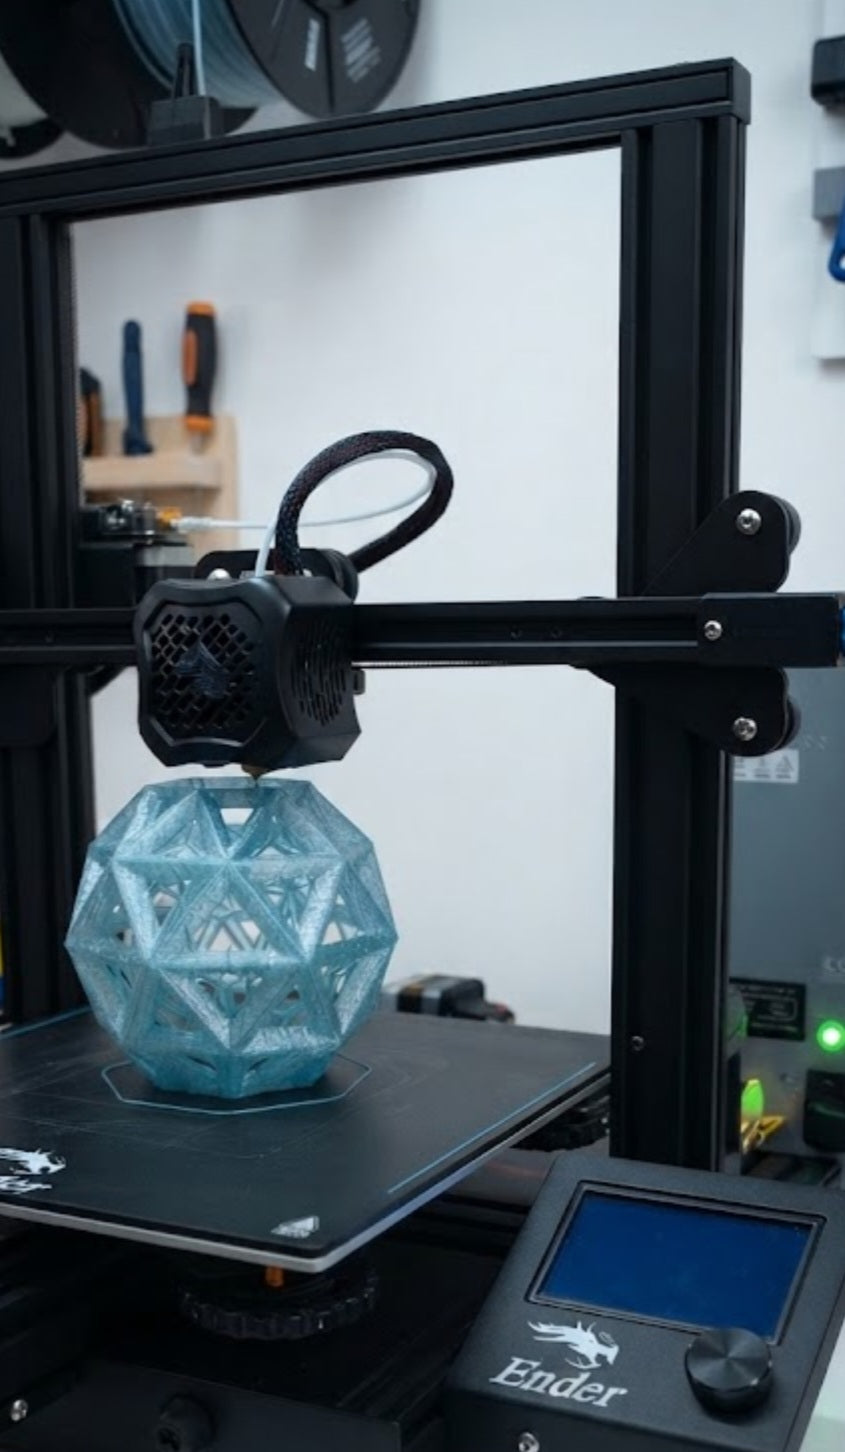
When an unexpected grid failure halts your machine mid-production, all is not necessarily lost. Knowing how to safely assess the situation and utilize firmware recovery options can save hours of work and prevent wasted filament.
Check Firmware Power-Loss Recovery:
Determine if your printer features built-in power-loss recovery, which writes current coordinates and progress to the SD card or EEPROM so it can resume automatically when power returns.
Inspect the Print and Bed Adhesion:
Check if the physical model shifted or popped off the cool build plate during the blackout; attempting to resume a print on a compromised base will only cause a collision.
Manually Purge and Clean the Nozzle:
Heat up the hotend manually once power is restored to gently clear any ooze, burnt filament, or residue left on the nozzle tip before starting up again.
G-Code Editing for Mid-Print Resumes:
If automatic recovery fails, measure the exact height of the failed print in your slicer, modify the G-code to skip already-printed layers, and carefully restart from that precise Z-axis coordinate.
Facing a halted print after an abrupt power outage can be nerve-wracking, but rushing into a recovery without checking your machine's status often leads to bigger failures. If your printer's firmware supports power-loss recovery and the bed maintained enough warmth to hold the part in place, the machine may automatically prompt you to resume the job once the 230V mains kick back on. However, if the power cut was prolonged and the build plate cooled completely, parts frequently contract and delaminate, rendering an automated resume impossible because the base layer is no longer secure.
When automatic recovery isn't an option, manual intervention requires careful precision. You can salvage tall prints by measuring the exact height where the failure occurred using digital calipers, slicing the remaining portion of the model as a standalone piece, and editing the starting Z-height in your G-code file. Before hitting print, always ensure the build plate is thoroughly cleaned and preheated, and watch the first few bridging layers like a hawk to make sure the new section welds seamlessly onto the old plastic structure.


