
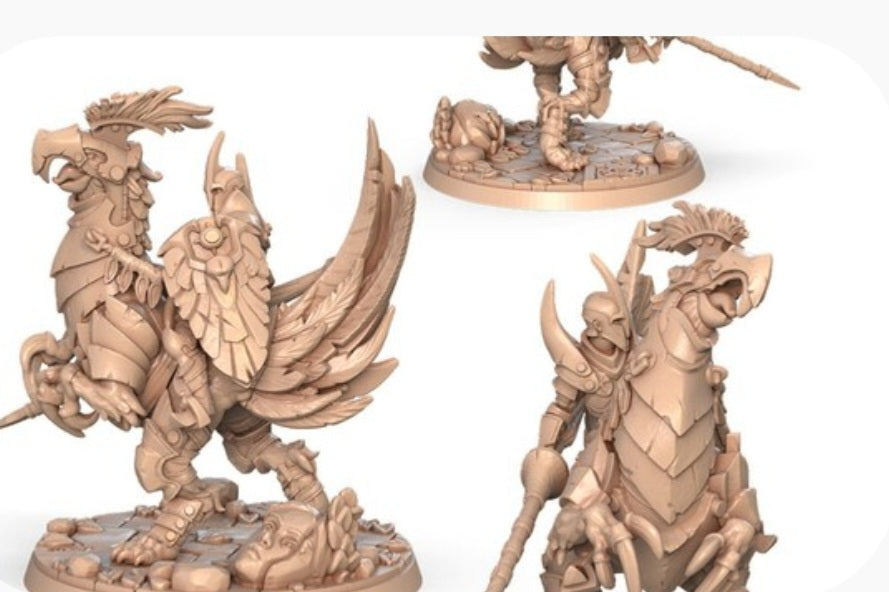
Stepping into the world of stereolithography (SLA) and mask stereolithography (MSLA) resin printing opens up an unprecedented level of detail for hobbyists, tabletop gamers, and scale modelers. While fused deposition modeling (FDM) machines excel at functional parts and large enclosures, producing intricate miniatures with microscopic facial features, delicate armor filigree, and ultra-fine weapon details demands the sub-micron precision of UV-cured resin. For local makers setting up a dedicated workspace, assembling a reliable resin starter kit is the essential first step toward achieving flawless, museum-quality miniatures right from your workbench.
Selecting an MSLA Printer with High-Resolution LCDs:
Choose a reliable resin printer equipped with a mono-LCD screen (4K or higher resolution) to ensure rapid exposure times and crisp layer definitions across dense build plates.
Establishing Proper Ventilation and Personal Safety:
Set up your workspace in a well-ventilated area, equipped with nitrile gloves, organic vapor respirators, and protective eye wear to handle photopolymer resins safely.
Investing in Essential Post-Processing Hardware:
Acquire a dedicated two-stage wash station, a secondary UV curing chamber, and fine flush cutters to handle post-print cleaning and hardening effectively.
Sourcing Reliable UV Photopolymer Resin:
Opt for dependable standard or tough resins available locally, keeping in mind ambient workshop temperatures during South African winters to maintain proper fluid viscosity.
Beyond the core hardware, mastering resin printing relies heavily on understanding the chemical and mechanical nuances of your slicing software and support placement strategies. Unlike FDM printing where overhangs can sometimes bridge successfully, resin prints are completely liquid until hit with UV light, meaning every floating island or protruding weapon tip requires meticulously generated manual supports. Placing heavy supports on hidden anchor points and light, pin-point tips on delicate facial features prevents scarring and ensures your miniature detaches cleanly from the FEP film without tearing mid-print.
Post-processing hygiene and proper curing discipline dictate the long-term structural integrity of your printed miniatures. Inadequate washing leaves residual uncured resin in deep crevices, which can later react with ambient light and cause the plastic to become brittle, crack, or warp over time. By utilizing isopropyl alcohol or specialized resin cleaners in a multi-stage wash cycle followed by complete UV hardening, you lock in dimensional stability and create a pristine, paint-ready surface for your tabletop armies.
To ensure your printed miniatures maintain their structural integrity over years of tabletop gaming, hollow-body design and strategic drain hole placement are vital techniques to master. When printing larger monster figures or vehicle models, solid resin prints create massive suction forces against the FEP film during peel cycles, which can easily delaminate the print or strain the Z-axis motor. Slicing software features allow you to hollow out thick sections while introducing internal lattice structures, significantly reducing resin consumption and weight. However, hollow models require strategically placed drain holes in inconspicuous locations—such as the bottom of a base or the underside of a torso—to let uncured liquid resin escape during the washing phase and prevent pressure differentials from cracking the model during UV curing.
Additionally, managing resin temperature and calibration testing in your workshop can make the difference between a pristine collection and a plate full of catastrophic failures. Photopolymer resins become noticeably more viscous in colder ambient environments, leading to under-extrusion, layer shifting, or poor bed adhesion. Running calibration prints—such as exposure matrix validation grids—whenever you switch to a new bottle or experience a seasonal temperature drop ensures your bottom exposure time and normal exposure time are perfectly dialed in for crisp, flawless detail reproduction.


