
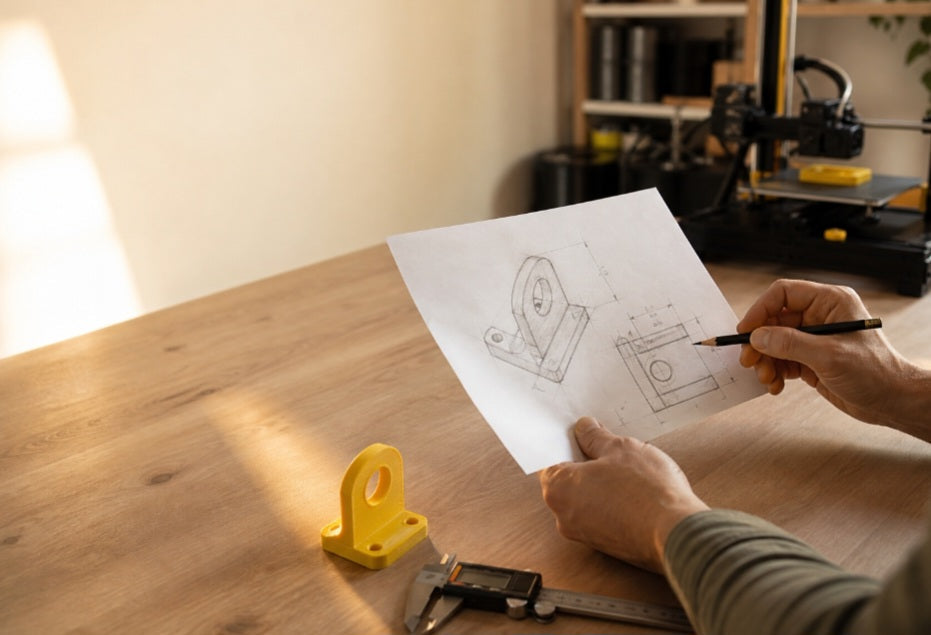
Bridging the gap between a rough concept drawn on a scrap of paper and a physical, three-dimensional prototype is one of the most exciting phases of product design. Often, an innovative idea begins as a quick hand-drawn doodle, capturing proportions, curves, or mechanical features without the constraints of digital geometry. For local product designers, inventors, and workshop creators, translating that raw pencil sketch into a functional 3D printable product mockup allows you to test form, fit, and ergonomics before committing to final production. Transforming 2D lines into a robust CAD model turns abstract imagination into tangible reality.
Digitizing and Scaling Hand-Drawn Reference Lines:
Use a flatbed scanner or a high-resolution photo taken directly overhead to capture your pencil sketch, then import it into CAD software with a known reference dimension to lock in correct scaling.
Tracing Vector Outlines and Contours:
Utilize spline and curve tools in your modeling software to trace the major silhouettes and structural profiles mapped out in your original sketch.
Extruding and Lofting 2D Profiles into 3D Volumes:
Convert flat 2D traces into volumetric bodies by applying precise extrusions, sweeps, or lofted transitions between varying cross-sections.
Adding Functional Tolerances and Draft Angles:
Account for real-world mechanical constraints by building in structural clearances, mounting bosses, and draft angles necessary for successful prototyping.
Basic geometric tracing, bringing a sketch to life requires careful attention to internal structural integrity and assembly feasibility. A design that looks visually balanced on a 2D page can easily suffer from weak stress concentration points or awkward weight distribution once rendered in solid plastic. By introducing internal ribbing, strategic wall thickness transitions, and integrated fastener pockets directly into the digital mockup, you ensure the prototype can withstand physical handling during client presentations or functional testing phases.
Leveraging rapid low-fidelity prototyping materials—such as fast-printing draft PLA or lightweight PETG—allows you to evaluate the physical ergonomics of your sketch within hours. Holding a newly printed object in your hand immediately reveals flaws in grip comfort, button placement, or overall proportion that a computer screen can easily hide. By iterating swiftly between your initial pencil sketches and functional 3D prints, you streamline the product development cycle and accelerate your path to market.
To elevate a basic prototype into a convincing presentation-grade model, makers can utilize advanced surface finishing and multi-material printing techniques. By printing the primary housing in a rigid, matte engineering polymer and over-molding or friction-fitting tactile rubberized grips, you simulate the exact look and feel of a finished commercial consumer good. This level of physical realism is essential when pitching new product concepts to prospective investors or manufacturing partners who need to experience the ergonomic texture of the device firsthand.
Additionally, incorporating smart split-body design practices during the CAD modeling stage allows complex organic shapes—originally drawn freehand—to be printed in interlocking modular segments without requiring excessive support material. Utilizing concealed snap-fit joints or alignment pins makes it easy to assemble and disassemble the mockup for internal component testing. This methodical approach ensures your initial sketch evolves into a modular, highly professional engineering prototype ready for rigorous market evaluation.


