
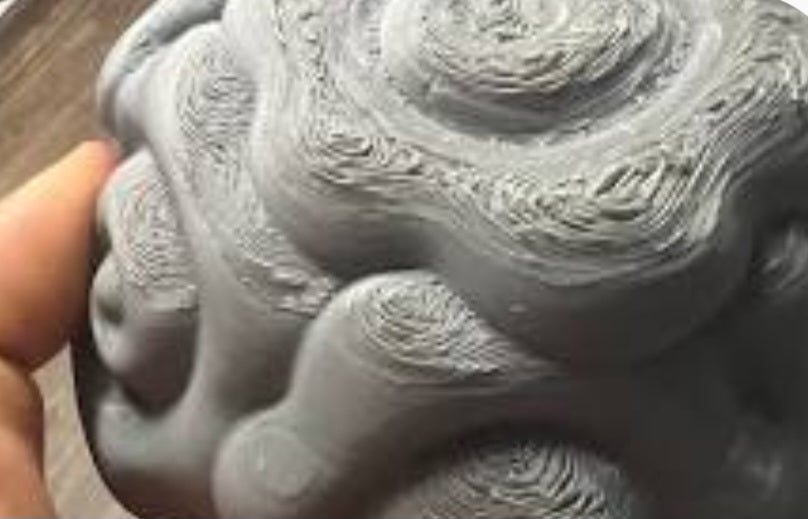
When preparing high-detail fantasy miniatures for resin printing, the absolute most nerve-wracking phase is deciding where to anchor your support structures. Placing a thick support point on the back of a cloak or the bottom of a base is forgiving, but misplacing them across a character's face, cheekbones, or intricate facial features will permanently ruin the aesthetic finish. Leftover support scars—often called pockmarks or nub remnants—demand intensive hobby knife trimming and micro-sanding, which frequently destroys delicate facial expressions, eyes, and nose details. Evaluating different support tip diameters, contact depths, and positioning angles reveals how to minimize surface damage while maintaining structural security.
Understanding Contact Point Diameter:
Shifting from heavy 0.4mm contact tips down to ultra-fine 0.15mm or light auto-supports drastically reduces the physical surface crater left behind after removal.
The Physics of the Break Point:
Tapering the support tip so that the narrowest constriction sits right at the model's surface ensures the plastic snaps cleanly without tearing chunks out of the resin face.
Strategic Placement Behind Natural Shadows:
Positioning micro-supports beneath the brow line, under the chin, or inside deep-set eye sockets hides residual marks in natural shadow zones where they are virtually invisible to the naked eye.
Avoiding Flat Surfaces:
Directing supports toward curved, organic facial contours rather than flat cheeks makes any minor sanding marks significantly easier to blend and polish away.
Refining support strategies further requires careful control over pre-curing thermal softening techniques during post-processing. Submerging your printed miniatures in warm water (around 50°C to 60°C) for just thirty seconds before removing the supports softens the photopolymer resin slightly, allowing fine contact tips to peel away cleanly without chipping the surface. Conversely, ripping supports off fully cured, ice-cold resin creates micro-fractures that tear deep into the model, ruining intricate facial structures. Balancing precise slicing parameters with gentle thermal removal safeguards your miniatures' most delicate focal points.
Thermal Softening Methods:
Dipping builds in warm water prior to clipping reduces structural tension and prevents ugly surface pitting on sensitive facial planes.
Clipping Technique:
Using specialized flush cutters rather than pulling supports by hand ensures a clean shear force parallel to the surface rather than a destructive upward yank.
Optimizing Depth Penetration:
Adjusting slicer settings to limit penetration depth to 0.1mm ensures supports hold firm during peel cycles without digging deeply into the model's geometry.
Post-Removal Cleanup:
Following up with a fine-grit hobby stick or glass file smooths out any microscopic nubs left on the chin or cheeks without erasing micro-details.
Ultimately, protecting a miniature's facial features from unsightly support scars is a masterclass in combining precise digital placement with gentle physical post-processing. By deploying ultra-fine contact tips, hiding anchor points within natural shadows, and utilizing warm water softening techniques before clipping, you eliminate tedious damage control. Mastering these subtle adjustments guarantees pristine, professional-grade facial details that elevate your entire painted showcase.


