
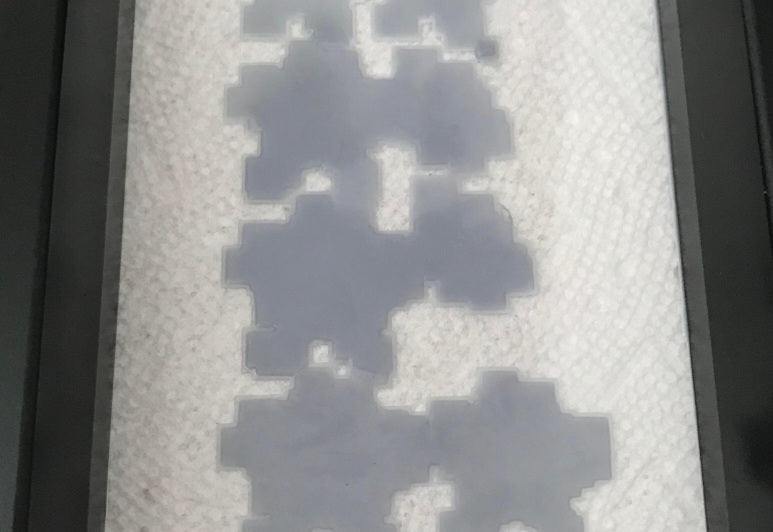
There is nothing quite as frustrating as waiting hours for a print job to finish, only to walk up to your resin 3D printer and find a gooey mess stuck to the FEP film, a half-formed shape, or nothing at all on the build plate.
Resin printing offers incredible detail, but it is also a delicate scientific process. A tiny error in leveling, temperature, or exposure can lead to a total print failure.
Let’s look at the most common reasons resin prints fail and how you can fix them.
Poor Bed Adhesion (The Print Didn't Stick)
If your print completely separates from the build plate and sticks to the bottom of the resin vat, something went wrong with adhesion.
Improper Build Plate Leveling:
If the plate is too far from the screen on the first layer, the initial layers won't anchor properly.
Bottom Exposure Time is Too Low:
Initial base layers need extra exposure time (often 8 to 12 times longer than normal layers) to weld firmly to the metal build plate. Increase your bottom exposure settings.
A Dirty Build Plate:
Oils, fingerprints, or residual manufacturing oils on a brand-new plate will prevent resin from sticking. Clean your build plate thoroughly with isopropyl alcohol.
Incorrect Exposure Settings
Exposure time dictates how long the UV light cures each individual layer.
Under-Exposure:
If your normal layer exposure time is set too low, the resin won't cure solidly. Layers will tear apart, resulting in weak, spongy prints or structural gaps.
Over-Exposure:
Setting the exposure too high causes light bleed, leading to loss of fine details, bloated dimensions, and support structures that are agonizingly difficult to remove.
The Fix:
Always run a calibration matrix test (like the RERF or AmeraLabs Town test) whenever you switch to a new brand or color of resin.
Inadequate or Weak Supports
Resin prints are heavy, and gravity pulls down on them while the build plate lifts upward against the suction force of the FEP film.
Too Few Supports:
If your model lacks enough support pillars, sections of the print will snap off mid-print.
Too Thin Contact Points:
If the contact tip where the support meets the model is too thin, the pull force of the vat film will tear the model right off the support.
The Fix:
Increase your support density, use medium or heavy supports for islands and heavy structural points, and make sure your slicer automatically catches all hanging overhangs.
Suction Cups and Vacuum Effects
When printing hollow objects or large flat surfaces parallel to the build plate, a vacuum effect is created every time the plate lifts. This massive suction force can rip your model off its supports or crack the FEP film.
The Fix:
Always angle your models at roughly 30 to 45 degrees in your slicer rather than printing them flat. Additionally, always add drain holes near the top (near the build plate) and bottom of hollow models to equalize pressure.
Environmental Factors (Temperature)
Resin is highly sensitive to ambient temperature.
Too Cold:
If your workspace or garage drops below 20°C (68°F), liquid resin becomes thick and viscous. This sluggish flow causes layers to fail to form properly, resulting in delamination and failed prints.
The Fix:
Keep your printing area warm, use a dedicated enclosure heater, or warm your resin bottle in warm water before pouring it into the vat.
The Verdict
Resin print failures can be discouraging, but troubleshooting them is just part of the craft. By systematically checking your leveling, dialing in your exposure times, and optimizing your supports, you will dramatically increase your success rate and get flawless prints every time.


