
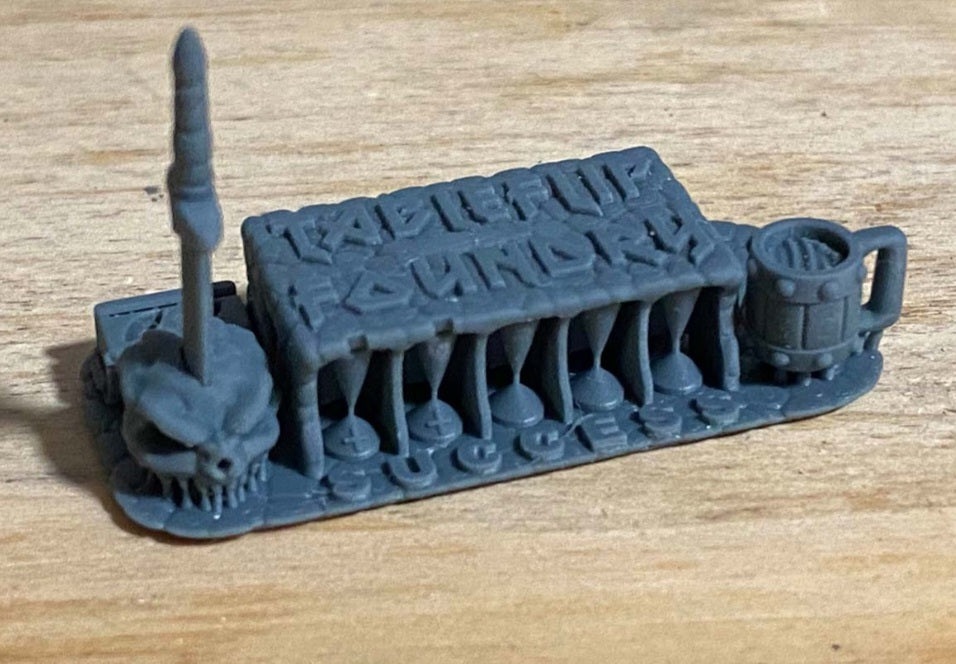
If your resin 3D prints are coming out with warped details, missing supports, or bloated dimensions that fuse your assembly parts together, your exposure settings are likely out of whack. Getting your resin exposure time dialed in is the ultimate secret to crisp details, strong layer adhesion, and a high success rate.
Unlike filament printers where temperature is the main variable, resin printers rely entirely on ultraviolet (UV) light to cure liquid photopolymer resin layer by layer. Too much light exposure causes bleeding and loss of fine details; too little light leaves your layers weak and peeling off the build plate.
Here is a professional, practical guide to figuring out and locking in the correct exposure times for your specific printer and resin combination.
Key Variables That Affect Exposure Time
Before diving into testing, it helps to understand why your friend's settings might not work for you. Exposure time depends on three major factors:
Light Source Type:
Monochrome LCD screens cure layers much faster (typically 1.5 to 3 seconds per layer) compared to older RGB screens (which can take 6 to 12 seconds).
Resin Color and Type:
Clear, translucent, and light grey resins cure very fast because UV light passes through them easily. Opaque dark colors (like black, dark blue, or deep green) block light and require significantly longer exposure times. Standard resins also differ drastically from tough, flexible, or water-washable resins.
Layer Height:
Thinner layers (like 0.03mm) require less exposure time per layer than thicker layers (like 0.05mm or 0.1mm) because the UV light has less depth to penetrate.
Step-by-Step Guide to Finding Your Ideal Exposure
Step 1:
Check the Manufacturer's Baseline
Always start by looking at the side of your resin bottle or checking the manufacturer’s official spreadsheet online. They usually list recommended baseline settings for popular printers (like Anycubic, Elegoo, or Phrozon). Treat these numbers as a starting point, not an absolute law.
Step 2:
Print an Exposure Calibration Test
Never waste a massive, multi-hour print trying to guess your settings. Instead, use a quick, small calibration print designed specifically for resin testing.
Popular free models include the R_E_R_F test (built into many printers like the Anycubic Photon series) or community favorites like the Cones of Calibration or the XP Finder.
These prints take very little resin and time (usually under 20 minutes) and feature microscopic pins, holes, and text that reveal instantly whether your exposure is too high or too low.
Step 3:
Analyze the Test Results
Once your calibration print finishes, wash it in IPA and inspect it closely (use a magnifying glass or your phone camera macro lens if needed):
Under-exposure:
The print will feel weak, details will look soft or muddy, small pins will be missing entirely, and parts of the model may stick to the FEP film instead of the build plate.
Over-exposure:
Sharp corners will look rounded, tiny holes will be filled in, and text or engraved details will look bloated or completely closed up.
Perfect Exposure:
Pins line up cleanly with matching holes, sharp edges are crisp and defined, and structural details match the 3D model exactly.
Step 4:
Fine-Tune in Increments of 0.2 Seconds
If your test print isn't quite right, adjust your normal layer exposure time in your slicer (like Chitubox or Lychee) by small increments of 0.1 to 0.3 seconds at a time. Run another quick test print until you hit the sweet spot.
Crucial Settings to Check Alongside Normal Exposure
While regular layer exposure gets the most attention, make sure these matching settings are also correct:
Bottom/Base Layers Exposure:
Because your first layers need to grip the bare metal build plate against strong suction forces, set your bottom layers to a much higher exposure time (usually 8 to 12 times your normal layer exposure, e.g., 25 to 40 seconds) for the first 4 to 6 layers.
Light-Off Delay / Wait Time:
Giving the resin an extra half-second to settle and stop sloshing around after the build plate moves down prevents microscopic layer shifts and improves surface finish.
Dial It In Once, Print with Confidence
Taking 30 minutes to run a calibration test saves you liters of wasted resin, failed prints, and endless frustration down the line. Once you find the magic exposure number for your favorite resin, write it down or save it directly as a resin profile in your slicer so you are always ready for a successful print.


