
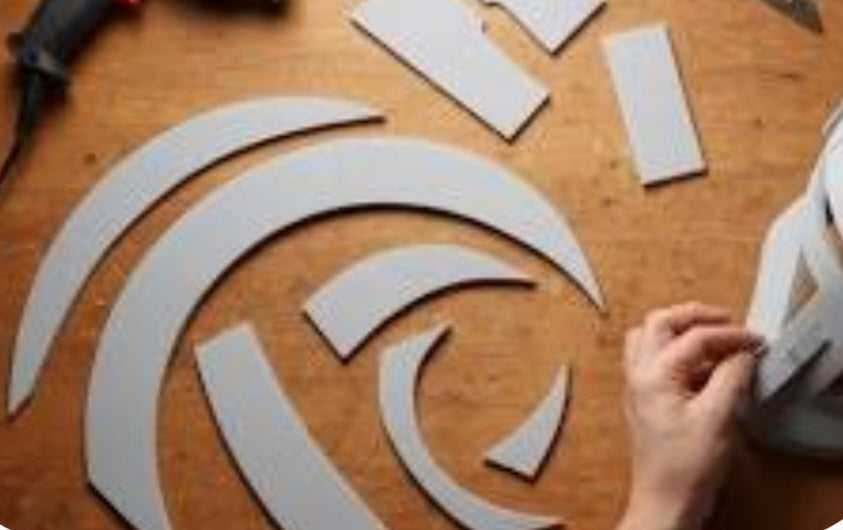
Stepping into the world of cosplay and prop making opens up an incredible avenue for creative engineering, where digital sculpting meets hands-on artistry. However, printing a wearable, full-sized helmet is vastly different from producing small mechanical parts or architectural mockups. Between head sizing calculations, dividing large STL files to fit standard build plates, and executing the meticulous post-processing required to banish layer lines, crafting a convention-ready helmet is a true test of maker endurance. For South African hobbyists and prop designers working with material budgets measured in Rands, mastering this multi-stage workflow ensures you never waste expensive plastic on a piece that ends up too small or structurally flawed.
Precise Head Sizing and Scaling Calculations:
Measure head circumference, ear-to-ear span, and front-to-back depth using a flexible tape, then scale your digital model carefully to account for interior padding and clearance.
Strategic Splitting for Standard Build Plates:
If your printer lacks a massive industrial volume, use slicing software or cutting tools to divide the helmet along natural seams, jawlines, or geometric panel lines.
Aligning Joints with Dowels and Alignment Pins:
Incorporate internal alignment keys, registration pins, or embedded neodymium magnets during the splitting phase to ensure seamless reassembly after printing.
Mastering Post-Processing and Surface Finishing:
Transition raw plastic into a mirror-smooth prop using structural fillers, high-build primer, progressive wet sanding, and multi-layer automotive paints.
Beyond the initial slicing and assembly, achieving a professional-grade finish requires patience during the chemical and physical smoothing phases. Standard FDM filaments like PLA+ or PETG leave distinct ridges that must be conquered with successive rounds of filler primer and fine-grit sanding. For advanced makers utilizing ABS or ASA, acetone vapor smoothing can melt surface layer lines away effortlessly, though it demands strict adherence to safety gear and proper ventilation protocols in a well-ventilated workshop space.
Reinforcing the interior structural seams with fiberglass resin, epoxy paste, or reinforcing mesh tape is critical for ensuring the helmet can endure the physical demands of crowded conventions and live events. By combining accurate head sizing, clean sectional splitting, and meticulous surface finishing, makers can transform raw digital meshes into breathtaking, wearable works of art.
Finally, elevating your prop-building workflow involves mastering advanced chemical bonding and interior reinforcement techniques, such as brushing a layer of smooth-flowing fiberglass resin across the interior walls to fuse separate panel segments into a monolithic, impact-resistant shell. By combining structural resin backing with external spot putty applications and rigorous wet sanding, makers can entirely eradicate seam lines, ensuring that the finished helmet looks less like a segmented collection of plastic prints and more like a authentic, movie-grade artifact ready for any convention stage.


