
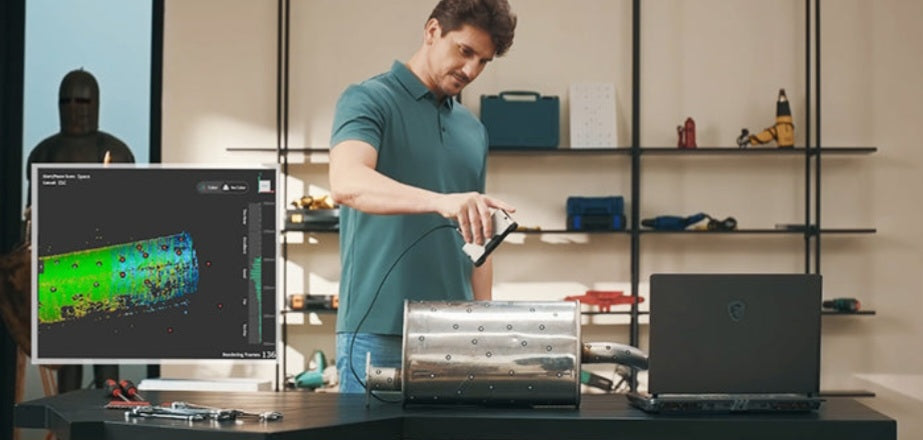
When starting your journey, several options provide excellent value and functionality for beginners in South Africa. The Revopoint INSPIRE 2 is a highly recommended, budget-friendly entry point—typically available for around R4,600—which offers a mobile-first workflow that is perfect for those new to 3D scanning.
If your projects involve capturing more challenging materials—such as dark or metallic surfaces—the Creality CR-Scan Otter is a standout choice that helps avoid the need for messy scanning sprays, typically retailing in the range of R17,999 to R19,000. For those interested in reverse engineering and high-precision tracking, the 3DMakerpro Moose is a reliable option, generally priced around R13,000 when accounting for local market availability. Finally, for users seeking a versatile all-rounder, the Revopoint POP 3 Plus is a powerful choice that balances speed and accuracy for small-to-medium objects, often priced at approximately R22,318.
Key Tips for Your First Scan
Software is Everything: For beginners, the user experience within the software is often more important than the hardware specs. Look for ecosystems that include automated mesh cleaning and hole-filling to simplify the post-processing phase.
Environment Matters: Always perform your scans in a space with consistent lighting. Avoid direct sunlight or environments with flickering artificial light, as these can interfere with the scanner's tracking sensors.
The "Scan-to-Print" Workflow: Most beginners invest in a scanner to eventually print their results. If you are new to this, start with simple, matte-colored objects to get a feel for your scanner’s tracking before attempting complex shapes like jewelry or intricate mechanical parts.
Low-Cost Testing: If you are hesitant about the cost of a dedicated scanner, remember that high-end smartphones and tablets with LiDAR sensors (using apps like Polycam or Scaniverse) provide a great, low-cost way to learn the basics of spatial mapping before you commit to a dedicated hardware purchase.
Beyond the initial setup, mastering your scanning technique is essential for professional-grade results. Move slowly and methodically around your object to prevent motion blur or tracking errors, taking extra care to capture multiple angles of complex or fine-detailed areas. Always maintain the manufacturer’s recommended distance from the object to ensure depth data remains sharp and undistorted.
Before you finalize your data, perform a thorough inspection of the scan preview to check for missing geometry, surface irregularities, or alignment errors that might require a rescan. Once you have captured your data, use "clean-up" software tools—such as Blender or specialized scanning suites—to remove stray points, fill holes, or smooth out jagged surfaces, ensuring your model is fully optimized for 3D printing or further design work.


