
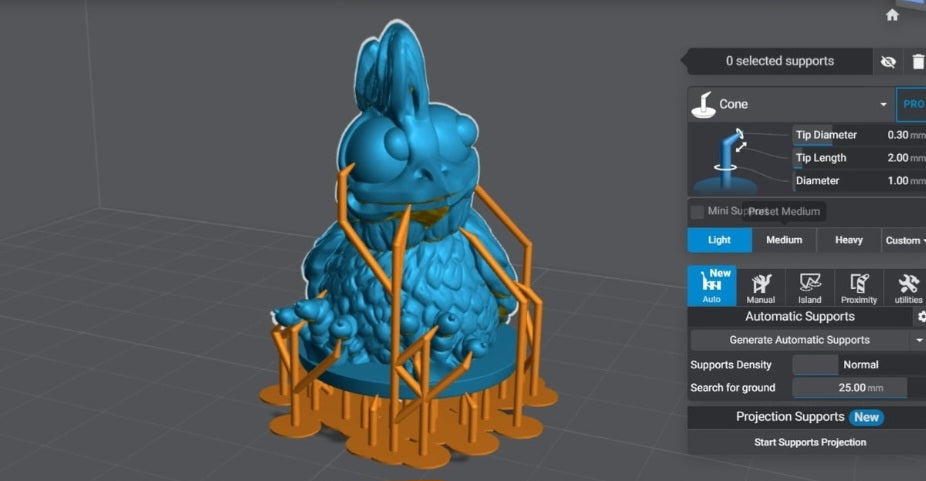
When you are staring at a chunky, life-sized bust, a large cosplay helmet, or a massive monster figurine in your slicer, your first instinct is often to panic over how much resin it's going to consume.
Resin isn't cheap, and watching a print take 1,0ential milliliters can hurt your wallet. Naturally, the "Hollow" button in Chitubox or Lychee looks like an absolute lifesaver.
However, hollowing a resin print isn't always the right choice. Do it incorrectly, and you might end up with a cracked model, a messy explosion of trapped liquid resin, or a print that rips straight off its supports due to massive suction forces.
So, when should you actually hollow a resin 3D print, and when is it safer to leave it solid? Let's break down the rules of thumb.
Rule 1: Hollow When the Model is Thick and Bulky
The primary reason to hollow a model is volume and weight. If a print has a thick cross-section (anything where solid resin thickness exceeds roughly 25mm to 30mm), hollowing it out is essential.
Save Resin and Money:
Solid prints burn through expensive resin rapidly. Hollowing reduces material usage by up to 70% to 80% on large objects.
Reduce Weight:
Heavy solid prints place massive mechanical stress on your build plate and supports. Lighter hollow prints are much easier to support and less likely to sag or drop off mid-print.
Rule 2: Hollow When Printing Functional or Cosplay Props
If you are printing wearable props, tabletop terrain tiles, or display pieces like helmets, armor plating, or large busts:
Always hollow them out. You need the inside empty anyway so it can fit your head, body, or other components.
Ensure you set an appropriate wall thickness (typically 2.0mm to 3.0mm for larger props to ensure structural rigidity without becoming too fragile).
When You Should NOT Hollow a Resin
Print (The Danger Zones)
Not everything belongs on the hollow chopping block. Avoid hollowing out your models in the following scenarios:
- Miniature Figures and Small Details
If you are printing 28mm to 75mm tabletop miniatures, leave them solid.
Small minis don't have enough internal volume to make hollowing worthwhile.
More importantly, trying to hollow a tiny miniature leaves you with microscopic walls that are impossible to clean and cure on the inside, leading to trapped resin that will eventually crack your miniature open from the inside out.
2. Models with Extremely Thin Walls or Fine Spikes
If a model features slender appendages, thin wings, or delicate weapons, hollowing it can create structural integrity issues. Thin hollow walls are fragile and prone to snapping under standard handling or post-curing stress.
The Golden Rules of Hollowing (If You Decide to Do It)
If your print passes the size test and you decide to hollow it, you must follow three golden rules to avoid a disaster:
Set Wall Thickness Right: Aim for 1.5mm to 2.5mm.
Anything thinner risks cracking; anything thicker wastes too much resin and traps too much weight.
Always Add Drain Holes (At Least Two!): You must place drain holes near the bottom (facing the build plate) and near the top of the cavity.
This allows uncured liquid resin to escape during the printing process and washing phase. If you seal a hollow cavity without drain holes, it creates a hydraulic suction bomb that will distort your print or rupture later.
Cure the Inside:
Remember that UV light doesn't penetrate solid opaque exterior walls. Once washed, use a cheap UV LED keychain flashlight or a specialized UV nail lamp curing stick inserted into the drain holes to cure the internal cavity, preventing future leaks and cracks.
Size Matters
Hollowing is an incredible tool for saving resin and printing massive objects safely, but it comes with technical responsibilities. Save it for heavy, thick models and large cosplay props, keep your mini figures solid, and always—always—drill your drain holes!


