
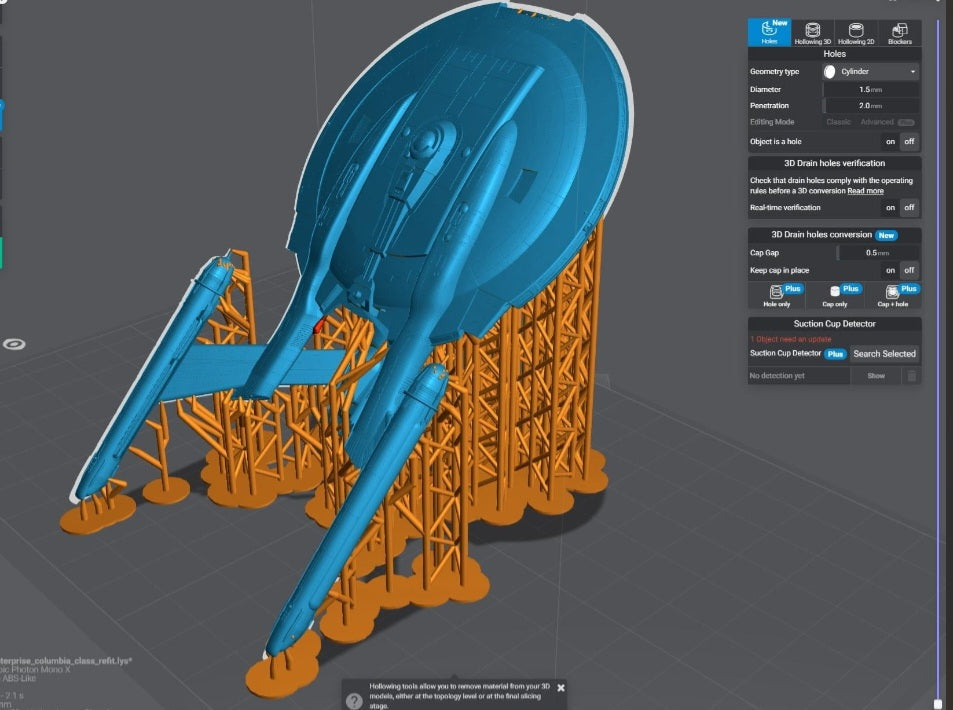
If you have ever experimented with hollowing out a resin 3D print to save on material, you have likely encountered the term "drain holes." While skipping this step might seem like an easy way to keep your model's surface completely seamless, ignoring drainage holes is one of the fastest ways to ruin a print—or worse, damage your equipment.
When you hollow a model in your slicer, you create an enclosed, hollow shell. Without a clear path for liquid resin and air to escape, physics takes over in ways you definitely won't like.
Here is why drainage holes are an absolute must-have for hollow resin prints.
1. Preventing the "Suction Cup" Effect (Delamination)
As your printer's build plate rises and lowers during a print, a large, completely flat hollow surface creates a massive suction vacuum against the FEP film at the bottom of your resin vat.
This suction force is immense.
Without holes to let air flow freely through the model, the pull can be strong enough to rip the print completely off its supports, warp layers, or even puncture your vat's FEP film, spilling resin all over your LCD screen.
2. Escaping Trapped Liquid Resin
When a model is hollowed, the inside remains filled with liquid resin as the laser or UV LCD screen cures layer upon layer around it.
If you don't provide a way for that trapped resin to escape, it will stay pooled inside the cavity indefinitely.
Not only does this waste a huge amount of expensive resin, but that trapped liquid adds unnecessary weight, making the print much more likely to fail mid-way through.
3. Avoiding the Dreaded
"Resin Explosion"
This is the most critical reason of all. If you manage to finish printing a hollow model with trapped liquid resin inside, wash it, and cure the outside, you have built a ticking time bomb.
The outer shell blocks UV light, meaning the interior resin remains completely liquid.
Over time, that trapped liquid continues to off-gas or react, building up internal pressure.
Eventually, the pressure cracks the outer shell, causing the model to split open or literally leak and ooze sticky, toxic uncured resin all over your display shelf.
How to Place Drainage Holes Correctly
To get the benefits of drainage without ruining the aesthetic of your print, keep these best practices in mind:
Location Matters:
Always place at least two holes—one near the bottom facing the build plate (to let resin drain during printing) and one near the top of the internal cavity (to break the vacuum).
Hide Them:
Position your drain holes on the bottom, back, or underside of the model where they won't be visible when displayed.
Size Them Right:
Aim for a hole diameter of 2mm to 3mm. Anything smaller won't let thick resin flow out easily; anything larger makes patching the holes later much harder.
Plug and Patch:
Once your print is fully washed, cured internally, and dried, you can easily plug the drain holes using a tiny drop of UV resin and curing it instantly with a UV flashlight.
Beyond simply preventing explosions and saving resin, modern slicers allow you to generate internal infill patterns—such as grids, honeycombs, or gyroids—inside your hollowed cavity.
Adding a sparse internal lattice structure acts like microscopic scaffolding for your hollow walls, drastically increasing the structural rigidity of large prints without adding significant weight or trapping excessive amounts of liquid resin.


