
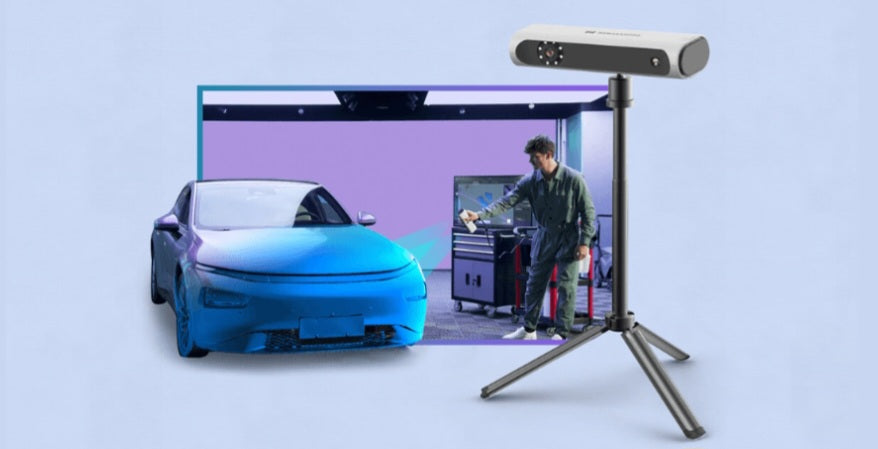
When you step into the demanding world of 3D scanning automotive components, few challenges test a scanner's limits quite like the combination of deep, light-absorbing gloss black surfaces and blindingly reflective chrome trim. Whether you are engineering custom aftermarket body kits, reverse-engineering vintage engine bays, or documenting collision repair panels, automotive parts present a nightmare optical landscape. Gloss black polymer absorbs structured light or laser energy like a black hole, resulting in missing data points and noisy point clouds. Conversely, mirror-finished chrome reflects light away at chaotic angles, blinding the sensor's CMOS cameras with severe optical glare.
Tackling these polarized surface extremes requires fundamentally different setup strategies, exposure adjustments, and optical preparation techniques. Let's explore the comprehensive technical breakdown of how to configure your handheld 3D scanner to capture both deep black plastics and brilliant chrome hardware with absolute precision.
The Absorption Trap of Gloss Black:
Dark polymers soak up laser wavelengths, forcing operators to crank up laser power and exposure times, which introduces sensor noise.
The Reflection Hazard of Chrome:
Mirror surfaces scatter laser lines unpredictably, causing "ghosting" effects and data dropouts where the camera registers false geometry.
Polarized Filtering Techniques:
Utilizing hardware polarizers helps strip away specular glare from chrome highlights without compromising underlying surface detail.
Strategic Spray Options:
Understanding when and how to apply temporary scanning aids (like vanishing dry-contact developer sprays) saves hours of post-processing nightmare cleanup.
Step-by-Step Calibration and Scanning Protocol
Mastering dual-finish automotive parts demands a systematic approach to lighting, target placement, and exposure tuning before you pull the trigger.
Surface Assessment and Cleaning:
Thoroughly degrease the automotive part to remove oil or fingerprints, which refract light differently than bare plastic or metal. Matte down greasy residues with isopropyl alcohol.
Managing Chrome Highlights:
For chrome bumpers or trim, avoid blasting maximum laser power. Instead, lower the camera shutter speed and use cross-polarization filters on your scanner lenses to neutralize mirror-like glare spots.
Optimizing Exposure for Black Components:
Transition your exposure settings specifically for the black sections. Increase the sensor gain or laser line intensity just enough to capture deep recesses without washing out transition edges.
Strategic Target Placement:
Place hybrid tracking markers (coding dots) on non-critical flat areas around the part rather than directly on the high-gloss zones to maintain a stable global coordinate grid.
Hybrid Scan Strategies:
Scan the chrome sections with a blue-laser line scanner utilizing high dynamic range (HDR) modes, then switch to structured light or adjusted laser thresholds for the deep black composite sections.
Mesh Stitching and Alignment:
Merge the individual data sets using multi-view alignment algorithms in your metrology software, ensuring smooth geometric transitions between the contrasting finishes.
Advanced Thermal and Optical Considerations
Beyond exposure control and hardware filters, capturing mixed-finish automotive parts is heavily dictated by ambient infrared interference and thermal expansion during prolonged scanning sessions. High-power blue laser scanners generate localized heat, especially when focused on light-absorbing matte or gloss black surfaces for extended durations. This thermal buildup can cause microscopic warping in thin-walled plastic components or trigger auto-shutoffs in sensitive sensor arrays. Furthermore, ambient daylight streaming into a workshop introduces stray infrared light that distorts structured light patterns. Operating in a temperature-controlled environment with blackout curtains ensures that your scanner's optical sensors read pure laser return data rather than ambient thermal and solar noise.
Scanning black and chrome car parts requires moving past default factory presets and adopting a dynamic, multi-parameter approach to optical metrology. By mastering exposure balancing, polarization filters, and thermal management, you can successfully digitize the most difficult automotive surfaces with absolute dimensional fidelity.


